Showing posts with label slimline. Show all posts

Tuesday, May 9, 2023

Pastel rainbow

 Hello there sunshine!  Today I have a sweet little mini slimline card to share with you.


Since my last few cards have been bright rainbows, I wanted to try something a little more subdued.

I grabbed several Trinity Stamps products from my stash and got to work.  I cut the rainbow from the Rainbow Funshine die set six times from different colors of cardstock.  I then cut the basic rainbow shape out of white cardstock.  I covered it with adhesive and added the rainbow strips.

Next I grabbed the the panel die from the mini slimline Clean and Simple panels set.  I lined it up over my rainbow where I wanted to cut it and ran it through my die cut machine.  I then took the panel die and the next layer die and taped them together on a piece of white cardstock.  This way I created a white frame.  

I took the next largest die and cut out the grey polka dot layer.  This paper came from the Winter Hues paper pad (it is retired).  And with the largest die from the set I cut a grey layer.  I glued the two layers and the white frame together.  Then I added foam tape to the pack of the rainbow pieces.  I carefully added them to the open panels of the frame piece.   I mixed grey ink with Shimmer Spray and splattered it on the panels with a paint brush.

While the panels were drying, I stamped the Hello Sunshine sentiment from the Summer Bouquet Builder (also retired) with black ink.  I cut it out with a banner die and added foam tape to the back.  I added it to the panel.  I took the entire piece and glued it to a 6 1/4" x 3 1/4" card base.

I felt it needed just a bit of bling so I added some Bubble Bath baubles with liquid glue.  We have a finish!


Have a great day friends!
~Kristina
**Compensated affiliate links are used - I may receive a small commission at no additional charge to you should you make a purchase using my link.

Teflon bone folder
Teflon bone folder
Shop at:
EH
Neenah Solar White
Neenah Solar White
Shop at:
SBC | EH
Tombow Mono Multi Liquid glue
Shop at:
EH | ACOT

Tonic Studios-Retractable Craft Pick
Shop at:
SBC | EH
Sheer Shimmer Spritz, Sparkle
Shop at:
EH | ACOT
Thin 3D foam squares - Scrapbook Adhesives
Shop at:
EH | ACOT
Clean & Simple Mini Slimline dies - Trinity
Shop at:
T
Bubble Bath Baubles - Trinity
Shop at:
T
Rainbow Funshine dies - Trinity Stamps
Shop at:
T

Saturday, April 29, 2023

Birthday rainbow cards

I found myself in need of two birthday cards.  Birthday cards should be fun and happy right?  Rainbow colors!  And I also unearthed another Trinity Stamps stencil I hadn't used yet, Cake and Candles.  Seems like the perfect combo to me!

The first card is for my husband's grandpa who is turning 99 next week!  Wow!  I felt a big year needed a big card so I made his 8 3/4" x 3 3/4".


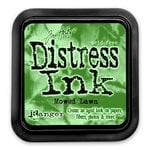
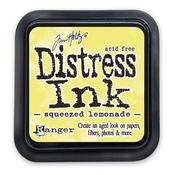
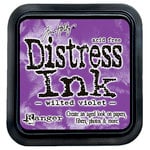
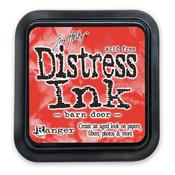
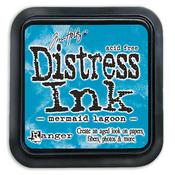
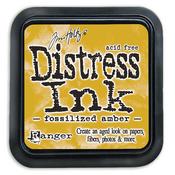
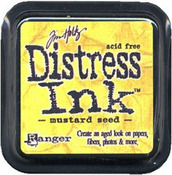
I used an array of Distress Ink colors.  For the candles I used Barn Door, Carved Pumpkin, Mustard Seed, Mowed Lawn, Mermaid Lagoon and Wilted Violet.  For the flames I used Squeezed Lemonade and Fossilized Amber.

I ink blended some cardstock so that my numbers (Marshmallow Numbers dies) would match the candles.  I popped them up with foam tape.  I stamped Happy (Simply Sentimental Birthday) directly on the card panel.  Birthday I stamped on a scrap and cut out using the coordinating die (Simply Sentimental Birthday dies).  I then add Midas Touch Shimmer pen over the flames and the th to add a little shimmer.

Then I felt I had too much white space at the top so I cut a strip of the Black & White Patterns paper with the Slimline Stitched Strips dies.  Ah, just right.


Now, let's talk about my second card.  This one I chose to go with a mini slimline size.  And of course, I needed to use the other part of the the Cake and Candles stencil!


Isn't it fun??  I used the same Distress Ink colors from my first card to blend my way up the stencil  The nice thing is that they are separate little sections so you can use as many as you like.

When I stamped the sentiment in black (Simply Sentimental Birthday) I managed to get the smallest of smudges on the paper. Embellishment opportunity!  I several of the Distress Inks with a shimmer spray and got splatter happy!  That's better.

I cut a piece of Bristol cardstock down to be a layer for the stenciled panel.  I again grabbed the same Distress Ink colors and blended a panel to match.  Then I added it to a black mini slimline base to really make it all pop!


Anywho, thanks for stopping by my crafty corner!
~Kristina
**Compensated affiliate links are used - I may receive a small commission at no additional charge to you should you make a purchase using my link.

Teflon bone folder
Teflon bone folder
Shop at:
EH
Neenah Solar White
Neenah Solar White
Shop at:
SBC | EH
Tombow Mono Multi Liquid glue
Shop at:
EH | ACOT
Tonic Studios-Retractable Craft Pick
Shop at:
SBC | EH
Ebony Black Cardtstock - Essentials by Ellen
Shop at:
EH
Strathmore Bristol Smooth paper
Shop at:
EH | ACOT
Mowed Lawn Distress Ink
Shop at:
EH | ACOT
Carved Pumpkin Distress Ink
Shop at:
EH | ACOT
Squeezed Lemonade Distress Ink
Shop at:
EH | ACOT
Wilted Violet Distress Ink
Shop at:
EH | ACOT
Midas Touch shimmer pen
Shop at:
T
Barn Door Distress Ink
Shop at:
EH | ACOT
Catherine Pooler Blending brushes
Shop at:
EH | ACOT
Stitched Frames & Squares - Trinity Stamps
Shop at:
T
Slimline Envelope Builder die - Trinity Stamps
Shop at:
T
Mermaid Lagoon Distress Ink
Shop at:
ACOT
Fossilized Amber - Distress Ink
Shop at:
ACOT
Mustard Seed Distress Ink
Shop at:
EH | ACOT
Simply Sentimental Birthday stamps -Trinity
Shop at:
T
Simply Sentimental Birthday dies -Trinity
Shop at:
T
Cakes and Candles Stencil - Trinity
Shop at:
T
Marshmallow numbers dies - Trinity
Shop at:
T
Clean & Simple Mini Slimline dies - Trinity
Shop at:
T
Stitched Strips Slimline dies - Trinity
Shop at:
T
Slimline Black &White Patterns paper - Trinity
Shop at:
T

Sunday, December 18, 2022

Snowflake trio

Hello friends!!  I couldn't make up my mind what kind of cards I wanted to make today so I just grabbed lots of different goodies.  I like to think it paid off since I came up with three different designs!  And each card has one thing in common, the Slimline Snowflake Corner stencil.  

Let's talk cards.  Here is the first card created.


I know you are like, Kristina, I don't see that snowflake stencil!  Well, let's start at the beginning shall we?


I grabbed the Christmas Mica Distress Stain sprays and the Slimline Snowflake stencil.  I created the piece on the far right first.  Then I misted the stencil before cleaning with some water.  I put it down on a piece of white cardstock.  It turned into the middle piece.  I put it down several times all over the paper.  And then we have the piece on the left.  I first spritzed the cardstock with the mica sprays.  Once it was dry, I layed the stencil on top and sprayed again with mica sprays.

Back to cardmaking.  I used the Slimline Snowflake Coverplate die to cut out a piece of white cardstock.  I added liquid glue to adhere it on top of the mica stained piece and I cut off the excess.


I layered it onto a pink slimline layer and then I added it to a white slimline card base.  Now I dug into the rest of my Scrappy Tails stash to find some sentiments.  I combined pieces from the Cardinal Blessings and Fairy Sentiments set.  I stamped "Hope you have a" and "Christmas" from the Cardinal Blessings set in black ink onto pink cardstock.  I cut them down with scissors into strips. 

"Magical" was stamped with Picked Raspberry Distress Oxide ink because I wanted to emboss it.  I sprinkled it with clear embossing powder and melted it with the heat tool.  Once it was completely cool I cut it out with the Fairy Sentiments dies.  I love how it cuts out all the swirly bits of the first letter in the word!  Then I just adhered them to the card panel.


Let's move on to my second card!  For this card I used the slimline piece where the snowflake stencil image was very defined (see panel on the far right above).


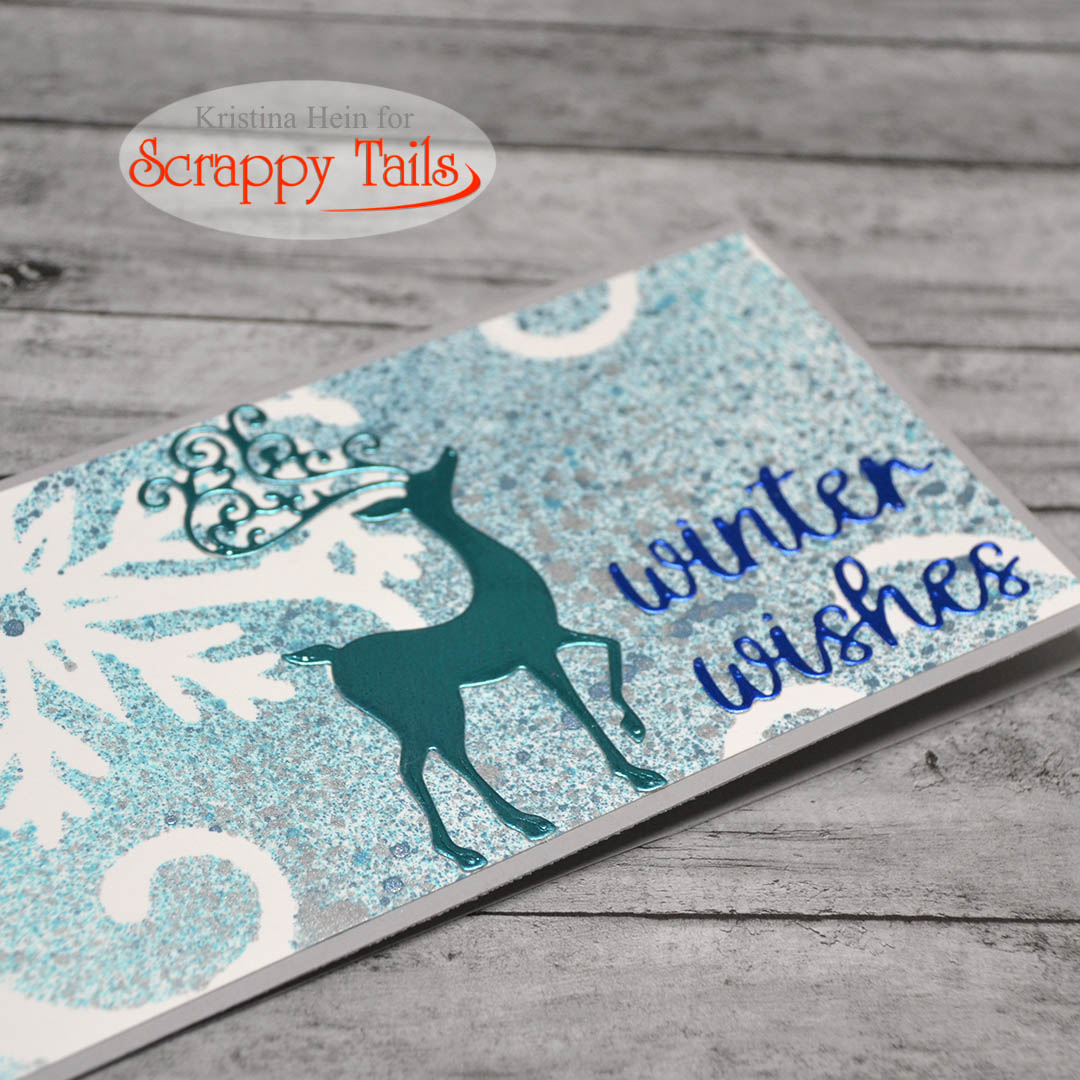
This panel was already pretty darn gorgeous so I wanted to limit the amount of things I added to it.  First I cut it down to a mini slimline size.  Next I pulled out some foil cardstocks in my stash that worked well with the panel.  Then I dug around in my Scrappy Tails stash.  I found this beautiful deer in the Winter Essentials die set along with the winter wishes words.

I simply cut them out and glued them to the stenciled panel and added it to a gray mini slimline card base.  And card number two is done!


Which bring us to the third and final card.


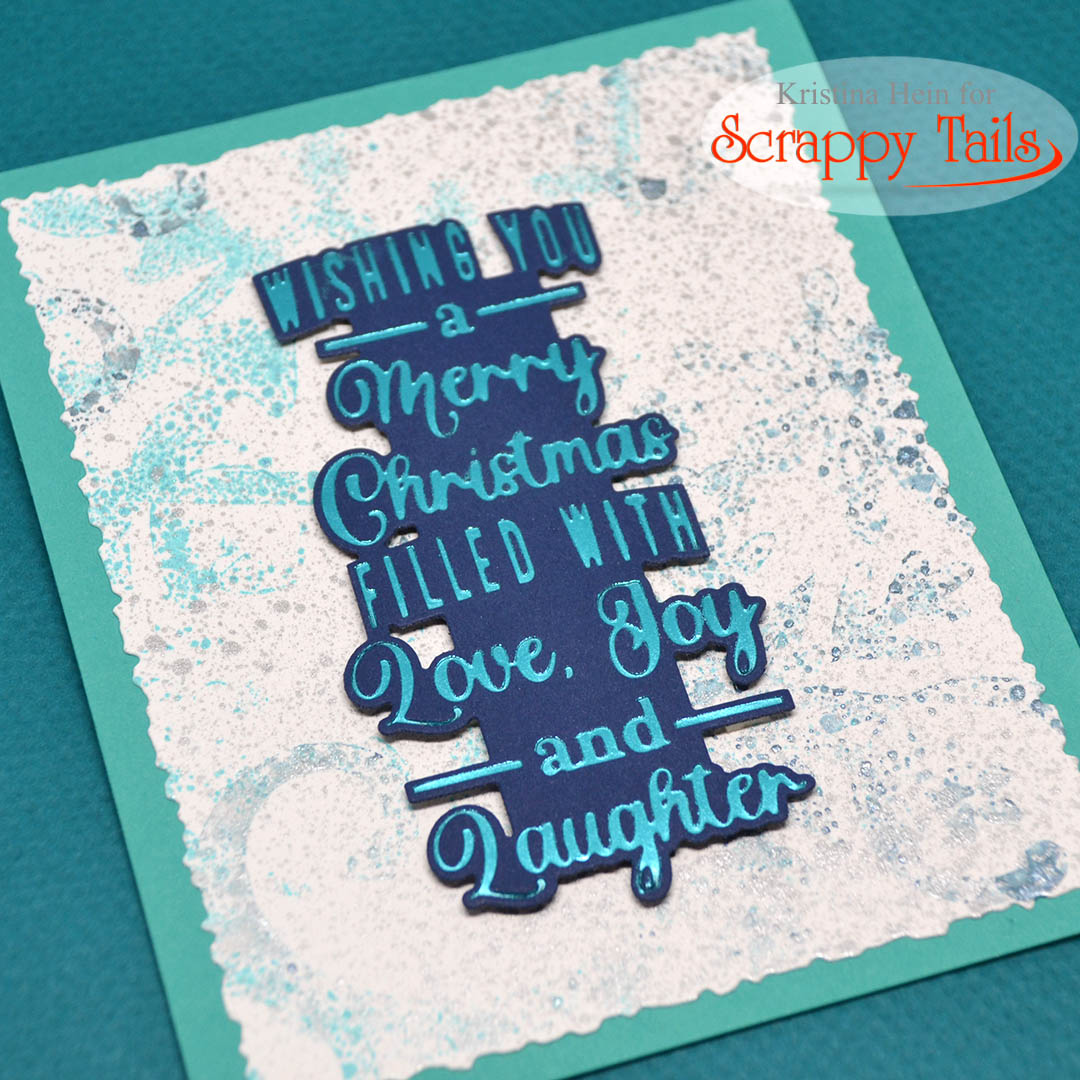
All I have left is the A2 sized card panel (middle panel from above).  It was another case of a lovely background piece I didn't want to cover up!  So, I cut it down a bit with a deckle edge die and added it to light teal card base.  Want to guess what I did next?  Yep, dug around in my Scrappy Tails stash.  I found a gem too!  The Hot Foil Christmas Sentiment dies and the Coordinating Sentiment dies.  

I used the Christmas Sentiment die with a piece of turquoise foil and hot foiled it onto a piece of navy cardstock.  Next I cut it out with the coordinating sentiment dies.  I added foam tape pieces to the back of the foil sentiment and adhered it to the card.  That's it.  Third card complete.


Thanks so much for visiting my corner of the crafty world!  

Toodles!
~Kristina

Teflon bone folder
Teflon bone folder
Shop at:
EH
Neenah Solar White
Neenah Solar White
Shop at:
SBC | EH
Tombow Mono Multi Liquid glue
Shop at:
EH | ACOT
Tonic Studios-Retractable Craft Pick
Shop at:
SBC | EH
Therm O Web Foam Tape
Shop at:
SBC | EH
Ranger Clear embossing powder
Shop at:
SBC | EH
Distress Oxide - Picked Raspberry
Shop at:
SBC
Heat Tool
Heat Tool
Shop at:
SBC | ACOT
Fairy Sentiments - Scrappy Tails Crafts
Shop at:
SCT
Fairy Sentiments dies - Scrappy Tails Crafts
Shop at:
SCT
Cardinal Blessing stamps - Scrappy Tails
Shop at:
SCT
Slimline Snowflake Corner stencil - Scrappy Tails
Shop at:
SCT
Slimline Snowflake Coverplate die - Scrappy Tails
Shop at:
SCT
Winter Essentials dies - Scrappy Tails
Shop at:
SCT
Hot Foil Christmas Sentiments - Scrappy Tails
Shop at:
SCT
Hot Foil Christmas Sentiments Coordinating dies
Shop at:
SCT
Turquoise Gemini Foil
Shop at:
EH