Showing posts with label Polka Dot Orchard. Show all posts

Friday, June 24, 2022

Celebrate

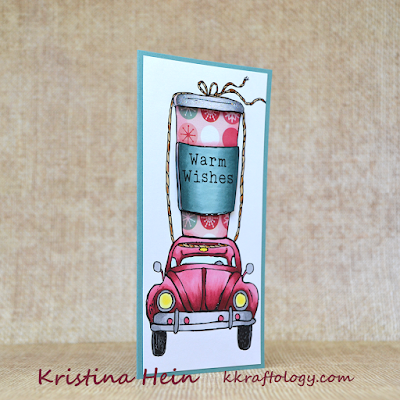
 Hi my friends!  Popping in to share my latest card project.  It features a brand new digital stamp from Polka Dot Orchard called Red, White and Pooh!


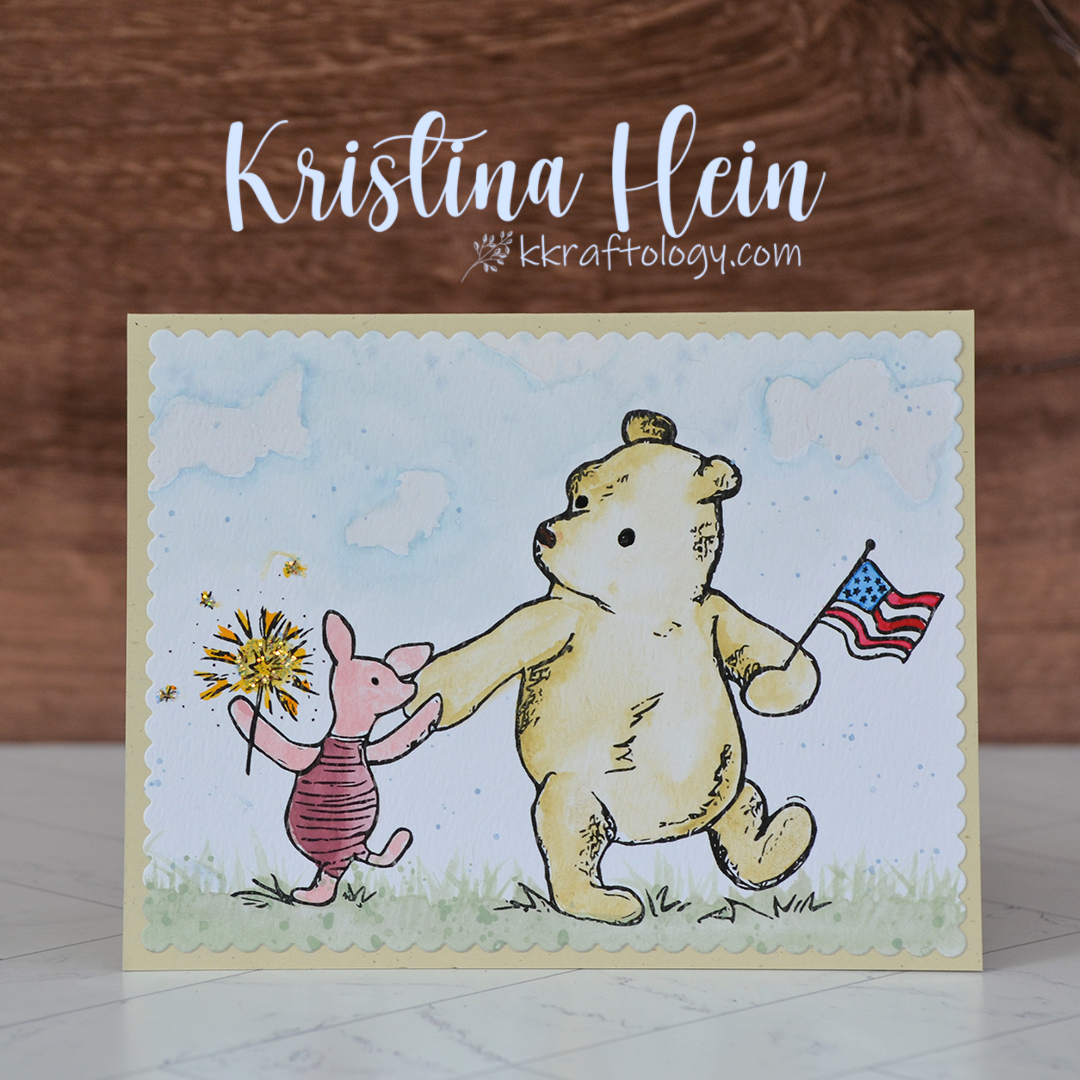
This is such a sweet image and totally gave me vintage vibes.  So it was perfectly fitting to use the Vintage Pastels watercolor set from Prima!

I did also use the Odyssey watercolor set as well for the flag colors.  Oh, and to deepen the pink on Piglet's outfit.

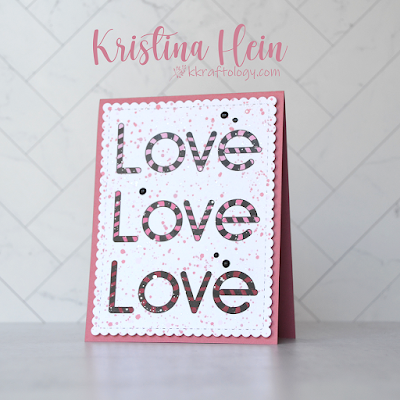
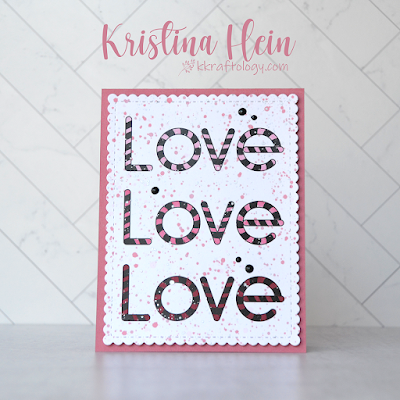
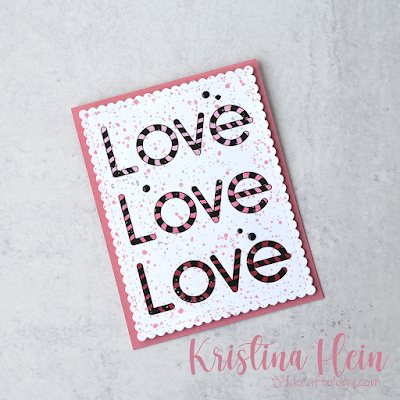
I added a little blue and green splatters.  Once everything was dry I added Icicle Stickles to the sparkler.  I cut it out with a scalloped die and glued it to a dark cream card base.  I kept things nice and simple!


This fun new digital stamp is available HERE at the Polka Dot Orchard website.  It's even half price right now!

Have an awesome day!
~Kristina

Compensated affliate links may be used - I may receive a small commission at no additional charge to you should you make a purchase using my link.

Teflon bone folder
Teflon bone folder
Shop at:
EH
Tombow Mono Multi Liquid glue
Shop at:
EH | ACOT
Canson Watercolor paper
Shop at:
EH
Prima Vintage Pastels Watercolors
Shop at:
SBC | ACOT
Silver Brush Black Velvet Round 4
Shop at:
EH
Icicle Stickles
Icicle Stickles
Shop at:
ACOT
Odyssey Watercolors - Prima
Shop at:
ACOT

Sunday, January 9, 2022

All the Love 💗

Howdy!  Poppin' in to share a quick Valentine's Day card I created this weekend.  I was looking through my stash of digital stamps and the Penguin Love set from Polka Dot Orchard caught my eye.  In particular, the "LOVE" sentiment.


This was a very easy card to put together!  I printed the sentiment out on to Neenah Solar White cardstock.  I then went ahead and cut the panel with a scalloped rectangle die.  Next I picked my pink Copic markers.  I used R83, R85 and R89.

The panel looked a little too stark so I added splatter with similar colored inks.  I also added metallic silver splatter.  Once the splatters were dry, I added foam tape to the back and glued it onto the pink card base.

To finish it off I added black Nuvo drops.  And that's it!  


If you're interested in another idea using this set, see my blog post HERE from a few years ago!

Have an awesome day!
~Kristina
Compensated affliate links may be used - I may receive a small commission at no additional charge to you should you make a purchase using my link.

Teflon bone folder
Teflon bone folder
Shop at:
EH
Tombow Mono Multi Liquid glue
Shop at:
SBC | EH
Therm O Web Foam Tape
Shop at:
SBC | EH
Natural White Neenah cardstock
Shop at:
EH
Black Nuvo drops
Black Nuvo drops
Shop at:
EH
R83 Copic Marker
R83 Copic Marker
Shop at:
EH
R85 Copic Marker
R85 Copic Marker
Shop at:
EH
R89 Copic Marker
R89 Copic Marker
Shop at:
EH

Saturday, December 18, 2021

A Tall Thanks - Polka Dot Orchard

 Happy Saturday!  Hello and welcome!  I should totally be wrapping Christmas presents right now but I'm here sharing my latest card instead...  I recently fell in love with the A Tall Thanks digital stamp set from Polka Dot Orchard.  So, it hopped into my cart and here I am with a card!


I printed the image onto Neenah Solar White cardstock.  I also printed it out onto a fun holiday patterned paper.  I fussy cut the cup from the patterned paper.  Then I cut the sleeve and the lid out of the Neenah cardstock.  I colored up the sleeve with Copics BG78, 75 and 72.  I added some shading to the patterned paper with R85 and 83.  I used N5, 3, 1 and 0 to the lid. 

Next I added foam tape to the back of the sleeve and the lid and applied them to the cup.  I got out my Star Dust Stickles and added it to the lid.  I set the cup aside to dry.

I had a another complete image on cardstock.  I cut it down to 3" x 6" and colored it with more Copic markers.  I did put down a light layer of color on the cup in case anything showed around my fussy cut pieces.  The car is colored with R89, 85 and 83.  The grays I used were N7, 5, 3 and 1.  I used E39 & 36 to add color to the rope.  For the headlights I used Y02 and 00 and BG0000 for the glass areas.  

I glued the patterned paper cup onto the colored panel.  Then the whole thing went onto a 3 1/4" x 6 1/4" card base.  And that's a wrap!  You can check out the entire Polka Dot Store HERE.


Thanks for stopping by and have a fabulous day!
~Kristina
Compensated affliate links may be used - I may receive a small commission at no additional charge to you should you make a purchase using my link.
Teflon bone folder
Teflon bone folder
Shop at:
EH
Tombow Mono Multi Liquid glue
Shop at:
SBC | EH
Therm O Web Foam Tape
Shop at:
SBC | EH
Copic Marker BG75
Copic Marker BG75
Shop at:
EH
Copic Marker BG72
Copic Marker BG72
Shop at:
EH
Natural White Neenah cardstock
Shop at:
EH
Cutter Bee Scissors - EK Success
Shop at:
SBC
BG78 Copic Marker
BG78 Copic Marker
Shop at:
EH
Star Dust Stickles
Star Dust Stickles
Shop at:
EH

Saturday, November 6, 2021

Fall slimline card

Howdy!  I'm popping in real quick today to share my latest card!  I know that the weather is beginning to get cooler but I'm holding on to fall.  Which meant I have made one more fall inspired card!  The colors are absolutely gorgeous right now where I live.


No tutorial today since the card was pretty simple and straightforward.  I printed one of the leaves and the sentiment from the Beautiful Colors of Autumn digital stamp set by Polka Dot Orchard onto watercolor paper.  I smooshed several Distress Ink colors onto a palette.  I gave them a light spritz of water.   I loaded up a larger paint brush with water and grabbed one of the ink colors from the palette. 

I randomly added the colors where I thought they looked good.  I dried it and did it another time to try and deepen the colors.  I dried it again and added splatters with copper acrylic paint.  Once it was dry I cut it out with a simple slimline layer die.

I added foam tape to the back before adding it to the mustard slimline layer.  Then the whole piece went onto an olive colored card base.  And that's it!


You can pick the Beautiful Colors of Autumn set right now for 50%!  Sale ends November 8th, 2021!

Have a fabulous day!
~Kristina


Sunday, January 31, 2021

Birthday ice skates

 Hi there!  I had need of a birthday card for a young lady.  I heard she liked pink and ice skates so I came up with a plan.  I knew that Polka Dot Orchard had the perfect digital stamp to use, Merry Christmouse.  I can hear you right, but Kristina, that's a Christmas set!!  Well, yes...and no!  Let's take a look at the card shall we?


This card came together fairly quickly.  I browsed Pinterest to find a simple card sketch as a starting point.  Then I  gathered my supplies.  Some happy Doodlebug paper, Copic markers in colors to match, some oval dies, Stickles, holographic cardstock and my digital stamps!

I printed the skates and the sentiment out onto Neennah Solar White 80lb cardstock.  I colored the skates with RV52 and 55, T9, 7, 5, 3, 1, 0 and the colorless blender.  I cut the colored image out with an oval die and the holographic cardstock in the next largest oval.  I cut the patterned papers at an angle and adhered them to a pink card base.  I glued on the ovals.  I went over the blades of the skates with a light layer of Star Dust Stickles.  The sentiment comes from the Whoops A Daisy set.  I colored it with the RV52 marker.  I popped on a bit of foam tape and added it to the card.  Added a few drops of Magenta Stickles and called it done!  I did find out the Magenta Stickles have been discontinued but I think Rhubarb or Cranb might work too.


Isn't it such a fun birthday card??  Both stamp sets are on sale for 50% off and can be found in the Polka Dot Orchard store HERE

See ya later!
~Kristina

Supplies used:
Compensated affliate links may be used - I may receive a small commission at no additional charge to you should you make a purchase using my link.

Copic Marker RV55
Copic Marker RV55
Shop at:
EH
Neenah Solar White
Neenah Solar White
Shop at:
SBC | EH
Tombow Mono Multi Liquid glue
Shop at:
SBC | EH
Copic Marker RV52
Copic Marker RV52
Shop at:
EH
Therm O Web Foam Tape
Shop at:
SBC | EH
Copic Marker Colorless Blender
Shop at:
EH
Copic Marker T9
Copic Marker T9
Shop at:
EH
Copic Marker T7
Copic Marker T7
Shop at:
EH
Rhubarb Stickles
Rhubarb Stickles
Shop at:
SBC
Copic Marker T5
Copic Marker T5
Shop at:
EH
Copic Marker T0
Copic Marker T0
Shop at:
EH
Copic Marker T1
Copic Marker T1
Shop at:
EH
Copic Marker T3
Copic Marker T3
Shop at:
EH

Friday, November 27, 2020

Slimline greetings

 I guess it's time to start switching gears to winter and holiday cards since Thanksgiving was yesteday.  Almost all of the fall colors are gone too in my neck of the woods.  I'm sad to see them go  Now, winter and Christmas cards can be tons of fun to make too!  I've got a bright and cheery slimline card to share with you today.  Not only does it feature the new Tree Farm slimline stencil I'm also showcasing the Beary Best Friend digital stamp set.  All from Polka Dot Orchard


You can purchase the stencil HERE and the stamp set HERE.

Let's check out my card.


I cut the green panel 3 1/2" x 8 1/2".  I took the Tree Farm stencil and randomly arranged it a couple different times over the green pane.  I applied Gina K Glitter Glitz gel with a plastic palette knife. Remember to clean your tools and stencil right away!

I set the panel aside to dry.  I printed the bear stack onto some Copic friendly paper and got to coloring.  I used B24, 26 and 29. G 14, 17 & 19. R30, 35, 37 & 39. N1, 3, 5 & 7. E30 & 31. E13, 15, 17 & 18.  As well as 0.  I went ahead and fussy cut around the image leaving a small white border.  I added Star Dust Stickles to the fringe on the scarf, the bird's hat trim and puff, and the ribbon on the present.  I added a touch of Icicle Stickles to the red berries.  Now I set this piece aside to dry.

The glitter gel was dry on the green panel so I got out another slimline stencil from Polka Dot Orchard, Spot On.  This one can be used for so many things.  I decided it looked like snow.  I used a white pigment ink to place bits of the "snow" in different places on the panel.  I applied foam tape to the back of the critters and added it to the card.  The sentiment was printed on the same white cardstock and trimmed down to fit the green panel.  Then the entire panel was added to a white slimline card base.

I love all of the added fun details on this card!


Oh, did I mention the Black Friday sale happening right now on the Polka Dot Orchard website?


Head to the store HERE to stock up on all the goodies!

I wish you much luck if you are doing some holiday shopping today!

Kristina