My friends! I'm SO excited about some brand new products now available from Artesprix! If you aren't familiar with Artesprix, they are the creators of the Original Sublimation markers. Basically, you create a design on regular copy paper with the markers and use a heat press to transfer the image to polyester or polyester coated blanks. I fell in love with their products soon after they hit the marker.
Fast forward to today. They have added 8 colors of stamp ink pads to their line up. AND, wait for it, FIVE colors of sublimation acrylic paint. And a lightening agent so you can create a rainbow of different colors!
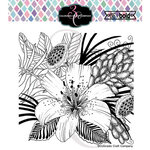
I've got two fun projects to share with you. The first one is a pot holder. It seemed like the perfect candidate to use with this gorgeous Daylily & Barberry from Colorado Craft.
The first step is to trace the potholder onto a piece of regular copy paper.
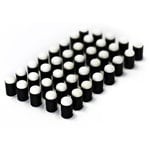
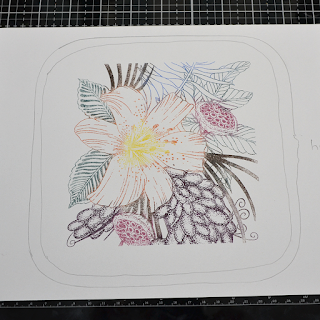
I opened up seven different colors of ink pads and grabbed my finger daubers. I also grabbed my Memory Misti. This made this process a WHOLE lot easier. I dabbed on the color to one section, stamped, and cleaned. Then I inked up the next section with a different color. I repeated this seven times until I had a complete pattern. This is what it looked like when I was done.
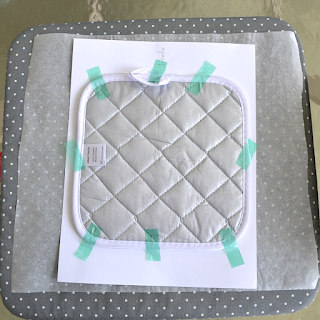
I turned on my Cricut Easy Press to 400 degrees. While it heated up I taped the design to the blank. I created a sandwich of protective paper, then the copy paper, the blank, and a final layer of protective paper. Apply heat for 50 seconds.
I let it cool down for a moment and then carefully peeled up one edge. You always want to do a peek test to make sure it looks good. And then the full reveal!
Look at how vivid and bright those colors are!
I had so much fun making the pot holder, I had to try my hand at another project. I grabbed the
bookmark blank from my stash and got to work.
Same as before I traced around my blank. I used some letter dies and masking paper to create my word. Remember, these will need to be mirrored. I made sure to cut them out from the sticky side instead of the regular side.
I used the pink and purple
ink pads directly on the background stamp. I just alternated between the two colors. I made sure to overlap a little so the transistions weren't too harsh. Then I peeled off the letter masks and here was the result.
I followed the same steps as above except the bookmark only needs 45 seconds at 400 degrees. And voila! Super easy peasy!
And that's a wrap for today! Thanks so much for stopping by. May your day be fabulous!
~Kristina
Compensated affliate links may be used - I may receive a small commission at no additional charge to you should you make a purchase using my link.

Therm O Web Masking Magic Sheets
Shop at:
EH | ACOT |

Memory Misti
Shop at:
SBC |

Ink daubers
Shop at:
SBC |

Daylily & Barberry - Colorado Crafts
Shop at:
SBC |


No comments:
Post a Comment