Showing posts with label flower stamp. Show all posts

Sunday, May 1, 2022

Sublimation fun with Artesprix

My friends!  I'm SO excited about some brand new products now available from Artesprix!  If you aren't familiar with Artesprix, they are the creators of the Original Sublimation markers.  Basically, you create a design on regular copy paper with the markers and use a heat press to transfer the image to polyester or polyester coated blanks.  I fell in love with their products soon after they hit the marker.  

Fast forward to today.  They have added 8 colors of stamp ink pads to their line up.  AND, wait for it, FIVE colors of sublimation acrylic paint.  And a lightening agent so you can create a rainbow of different colors!

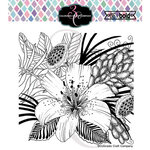
I've got two fun projects to share with you.  The first one is a pot holder.  It seemed like the perfect candidate to use with this gorgeous Daylily & Barberry from Colorado Craft.

The first step is to trace the potholder onto a piece of regular copy paper.


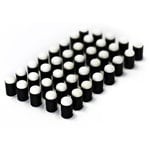
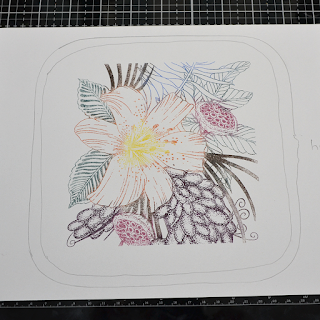
I opened up seven different colors of ink pads and grabbed my finger daubers.  I also grabbed my Memory Misti.  This made this process a WHOLE lot easier.  I dabbed on the color to one section, stamped, and cleaned.  Then I inked up the next section with a different color.  I repeated this seven times until I had a complete pattern.  This is what it looked like when I was done.


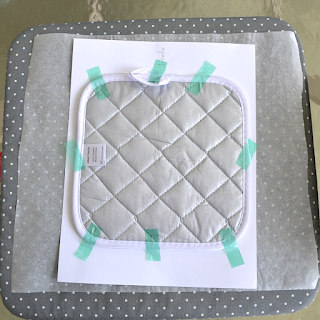
I turned on my Cricut Easy Press to 400 degrees.  While it heated up I taped the design to the blank.  I created a sandwich of protective paper, then the copy paper, the blank, and a final layer of protective paper.  Apply heat for 50 seconds.


I let it cool down for a moment and then carefully peeled up one edge.  You always want to do a peek test to make sure it looks good.  And then the full reveal!


Look at how vivid and bright those colors are!

I had so much fun making the pot holder, I had to try my hand at another project.  I grabbed the bookmark blank from my stash and got to work.

Same as before I traced around my blank.  I used some letter dies and masking paper to create my word.  Remember, these will need to be mirrored.  I made sure to cut them out from the sticky side instead of the regular side.  

I used the pink and purple ink pads directly on the background stamp.  I just alternated between the two colors.  I made sure to overlap a little so the transistions weren't too harsh.  Then I peeled off the letter masks and here was the result.


I followed the same steps as above except the bookmark only needs 45 seconds at 400 degrees.  And voila!  Super easy peasy!


And that's a wrap for today!  Thanks so much for stopping by.  May your day be fabulous!

~Kristina
Compensated affliate links may be used - I may receive a small commission at no additional charge to you should you make a purchase using my link.

Therm O Web Masking Magic Sheets
Shop at:
EH | ACOT
Memory Misti
Memory Misti
Shop at:
SBC
Ink daubers
Ink daubers
Shop at:
SBC
Daylily & Barberry - Colorado Crafts
Shop at:
SBC

Monday, September 13, 2021

Seize the stamp hop

Hi friends!  I'm participating in a fun flower hop over on Instagram.  You can get all of the details on how to enter the giveaway (and to hop along!) over on my IG page HERE.

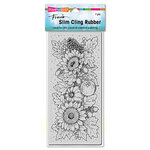
I created this fun slimline card using the gorgeous Slim Fall Sunflowers stamp set from Stampendous.  I recently added it to my collection and I'm in LOVE!


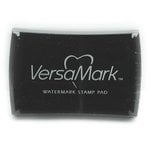
I stamped it on watercolor paper with VersaMark ink.  Then I heat embossed it with gold and copper embossing powders.

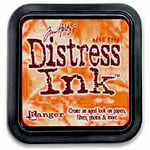
Next I colored the entire image with an assortment of fallish Distress Ink colors.  Once the entire image was painted, I went around the outside of the image with very diluted Gathered Twigs distress ink.

I set it aside to dry.  I cut another piece of watercolor paper slightly larger.  Then I used a gold watercolor to paint around the outer edges.  Then I layered the floral piece on top.  And both panels were adhered to a brown card base.

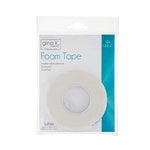
The sentiment is from an older set from Honey Bee Stamps called Hey Pumpkin.  I also stamped it with VersaMark ink and embossed in gold.  I cut it out and added it to a brown layer, which I fussy cut as well.  I added foam tape to the back and applied it to the card.

My final step was to add red Stickles to the berries.  I hope you'll head over to my Instagram page to check out the hop details! 

And thanks for stopping by!
~Kristina
Compensated affliate links may be used - I may receive a small commission at no additional charge to you should you make a purchase using my link.
Teflon bone folder
Teflon bone folder
Shop at:
EH
Tombow Mono Multi Liquid glue
Shop at:
SBC | EH
VersaMark Watermark ink pad
Shop at:
SBC | EH
Therm O Web Foam Tape
Shop at:
SBC | EH
Canson Watercolor paper
Shop at:
EH
Hero Arts Gold embossing powder
Shop at:
EH
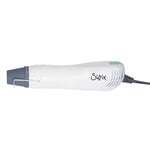
Heat Tool
Heat Tool
Shop at:
SBC
Candied Apple Distress Ink
Shop at:
SBC | EH
Silver Brush Black Velvet Round 4
Shop at:
EH
Spiced Marmalade Distress Ink - mini
Shop at:
SBC | EH
Cutter Bee Scissors - EK Success
Shop at:
SBC
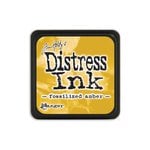
Fossilized Amber - Distress Ink
Shop at:
SBC | EH
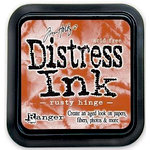
Rusty Hinge - Distress Ink
Shop at:
SBC | EH
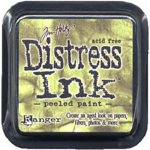
Peeled Paint distress ink
Shop at:
SBC
Ground Espresso Distress ink
Shop at:
EH
Vintage Photo Distress Ink
Shop at:
EH
Slim Fall Sunflowers - Stampendous
Shop at:
SBC
Copper embossing powder - Hero Arts
Shop at:
EH
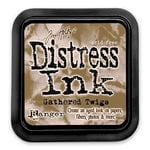
Gathered Twigs distress ink
Shop at:
SBC | EH
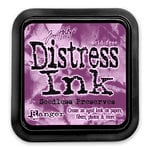
Seedless Preserves distress ink
Shop at:
SBC | EH
Wild Honey distress ink
Shop at:
EH

Sunday, August 15, 2021

Christmas Leaves

Welcome to my blog!  Today I'm excited to share my first project using brand new products from Scrappy Tails Crafts!  If you'd like to see all the goodies in the Countdown to Christmas collection, click HERE.

Let's check out my card shall we?


I knew when I saw the Assorted Christmas Leaves die set that I had to have this fantastic set in my stash.  When I sat down with it to cut apart the individual dies, I started to imagine the leaves clustered together in a wreath pattern.  I made a loose sketch and got right to it!

My first step was to pick a color scheme.  I opted for a non-tradtional Christmas color scheme.  I pulled several colors of cardstock from my stash and got to cutting.


Next I cut some scrap pieces of paper into a circle and a square.  I needed to have a template of sorts to work with to make sure I got the spacing correct.  I played around for some time trying to figure out what layout I liked best.  I settled on the one below.  I carefully placed Press 'n Seal over it all and pressed down firmly.


I flipped the whole thing over and removed the white square.


Then I carefully added small dots of liquid adhesive over the leaves.  I flipped it back to the front and glued the leaves to a 5 1/2" square white panel.


I peeled off the Press 'n Seal and the white circle scrap.  I glued a circle cut from silver foil in the center.


Next I stamped the candle from the Candle Light Poinsettia (an older set) with Versamark ink.  Then I sprinkled on silver embossing powder.  I heated it with my heat tool until melted.  I also stamped the sentiment from the same set with a coordinating pink ink.

I used pink, green, blue and yellow inks that I smooshed on my craft mat and a water brush to lightly paint the images.  I used a Versamark marker to run along the outside edge of the circle.  Again I used silver embossing powder.


I set that piece aside while I created my card base.  I needed a base that was going to be 5 3/4" square.  The cardstock that matched was only 11" long.  I needed 11 1/2".  So I cut one piece 5 3/4" square and the other piece 5 3/4" x 6 1/4".  I scored the larger piece on the 6 1/4" side at 1/2".  I folded it, added some strong adhesive and glued the other panel on top.  You can see in the photo below how I attached it.  Now I was set with the right size base!


I added a generous amount of silver splatters to the leaves panel.  Then I added foam tape to the back of the stamped circle and adhered both to the card base.

For my finishing touches I added Stickles to the flame and the berries.  Then I kind of went crazy with the Metallic Silver Lining Nuvo drops.


I hope you'll check out all the amazing goodies in the store at Scrappy Tails Crafts!  And if you want to save 10% off your purchase, use code STCBLOG!

Have a most amazing day!
~Kristina

Compensated affliate links may be used - I may receive a small commission at no additional charge to you should you make a purchase using my link.


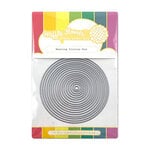
Nesting Circle dies - Waffle Flower
Shop at:
SBC | EH
Teflon bone folder
Teflon bone folder
Shop at:
EH
Neenah Solar White
Neenah Solar White
Shop at:
SBC | EH
Tombow Mono Multi Liquid glue
Shop at:
SBC | EH
VersaMark Watermark ink pad
Shop at:
SBC | EH
Silver cardstock - Lawn Fawn
Shop at:
SBC | EH
Therm O Web Foam Tape
Shop at:
SBC | EH
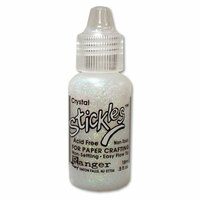
Crystal Stickles
Crystal Stickles
Shop at:
SBC | EH
Versamark Pen
Versamark Pen
Shop at:
EH
Heat Tool
Heat Tool
Shop at:
SBC
Ranger Tim Holtz Water Brush - Fine Brush
Shop at:
SBC | EH
Silver embossing Powder - Hero Arts
Shop at:
SBC | EH
Assorted Christmas Leaves dies - Scrappy Tails Crafts
Shop at:
SCT
Candle Light Poinsettia - Scrappy Tails Crafts
Shop at:
SCT
Large Stitched Circle dies - Sunny Studio
Shop at:
SBC
Silver Lining - Nuvo Drops
Shop at:
SBC | EH