Showing posts with label Ranger alcohol inks. Show all posts

Sunday, February 14, 2021

Flowers and alcohol inks

Hiya!  I'm back with another project for you featuring products from Scrappy Tails Crafts!  There are so many great new dies in their latest release.  I was having a really hard time deciding which one to use...so I used three of them in one project!  Here's a quick peek at part of my project.  Then I'll tell you about my process and show you the rest of my project.


I was feeling in the mood to play around with alcohol inks to make some fun papers.  I didn't have any real plans.  I grabbed some colors that I thought would mix well to make a coral.  I ended up using salmon, ember and sienna alcohol inks.


When it was almost dry, I grabbed a gold foil and rubbed it in some of the still sticky places on the panel.

Then I made a green panel using aqua, laguna and mojito alcohol inks.


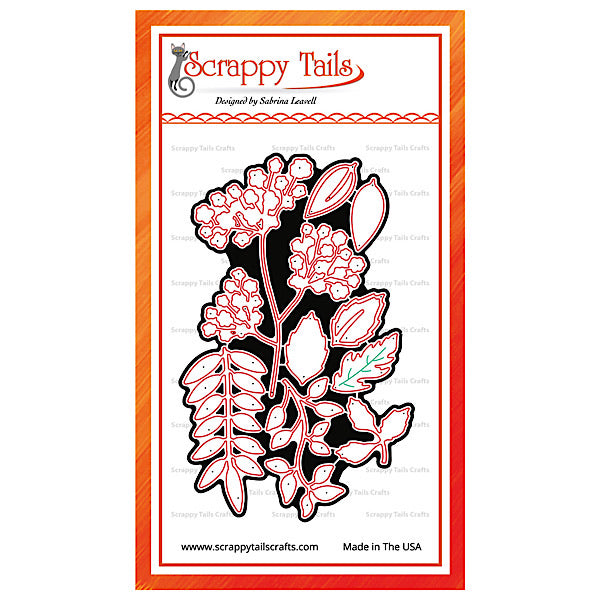
Now it was time for lots of die cutting using the Outlined Rose Assortment dies and the Assorted Leaves dies.


Roses layered together.


I also cut all of the solid flowers and leaves out of a matching cardstock.  Then I glued them to the back of the alcohol ink pieces.  I didn't want the white of the paper to be super distracting.  Plus, it gave the pieces more stability.

Next I cut out all of the pieces I needed to create a flower base vase using the Flower Vase Pop Up card dies.


And now for the fun part  I created the vase and started adding all of my flower and leaf pieces to fill it up!  Here are the views of the rest of the sides.


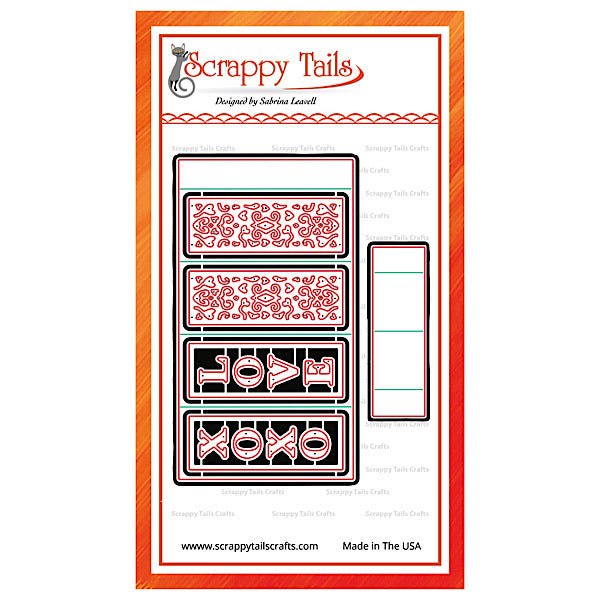
And in this picture you can see that I added a simple "For You" sentiment using word dies from the Slimline Pop Up Box Gift Card dies.  Oh, hey, I guess that means I used FOUR different die sets!  I cut the words out of cream colored cardstock.  I glued them to gold foil cardstock and hand cut them out.  I attached them to strips of clear acetate and added them to the vase arrangement.


And let's take a close look at those gorgeous flowers!


I also wanted to show you that it still collapses down fairly flat.  It doesn't appear super flat in the picture but that's only because I couldn't hold it flat AND take the picture at the same time.  This will fit into a 5"x7" envelope.


Whew.  Still with me?  This is not a hard project at all.   I just kept playing around until I found an arrangement I liked.  The dies make the whole process nice and easy!

I hope you have found a little bit of inspiration today.  Don't forget to check out all of the awesome products in the Scrappy Tails Crafts store. Use the code STCBLOG10 for 10% off your order! 

Toodles!
~Kristina

Supplies used:
Compensated affliate links may be used - I may receive a small commission at no additional charge to you should you make a purchase using my link.

Salmon alcohol ink
Salmon alcohol ink
Shop at:
SBC | EH
Sienna alcohol ink
Sienna alcohol ink
Shop at:
SBC | EH
Aqua alcohol ink
Aqua alcohol ink
Shop at:
SBC | EH
Laguna alcohol ink
Laguna alcohol ink
Shop at:
SBC | EH
Teflon bone folder
Teflon bone folder
Shop at:
EH
Assorted Leaves dies - Scrappy Tails Crafts
Shop at:
SCT
Outlined Roses Assortment dies - Scrappy Tails Crafts
Shop at:
SCT
Slimline Pop Up Box Gift card die - Scrappy Tails
Shop at:
SCT
Tombow Mono Multi Liquid glue
Shop at:
SBC | EH
Ranger Alcohol Blending Solution
Shop at:
SBC | EH
Yupo paper
Yupo paper
Shop at:
SBC | EH
Tonic Studios-Retractable Craft Pick
Shop at:
SBC | EH
Zig 2-way glue pen
Zig 2-way glue pen
Shop at:
SBC | EH
Natural White Neenah cardstock
Shop at:
EH
Gold Shattered Glass foil - deco foil
Shop at:
SBC | EH
Ember Alcohol Ink
Ember Alcohol Ink
Shop at:
SBC | EH
Mojito Alcohol ink
Mojito Alcohol ink
Shop at:
SBC | EH
Cutter Bee Scissors - EK Success
Shop at:
SBC
Gold metallic cardstock - Lawn Fawn
Shop at:
SBC | EH
Flower Vase Pop Up dies - Scrappy Tails Crafts
Shop at:
SCT

Monday, June 22, 2020

Let's get inky!

Hello my friends!  Today I'm bringing you along on my recent crafty adventure.  Let me start off by telling you I'm using the Beauty of His Grace set from Polka Dot Orchard.  This set (along with all others!) are on sale for the 35% off in the PDO store.  You can go directly to the store by clicking HERE.


Purchase HERE

Here's my creation for today.


I was looking for a way to use digital stamps with alcohol inks.  Enter heavy vellum!  I printed the main image onto heavy vellum.  I flipped it over to the backside and started adding alcohol inks.  I  worked carefully to apply the colors roughly in an area where I wanted them.  Mojito for the leaves and stem.  Ember for the flowers. Teakwood for the butterfly body.  Boysenberry for the butterfly and Glacier for the sky.

With the help of isopropyl alcohol and a puffer tool, I was able to spread the colors out in a controlled manner.  I just kept working at it until I was pleased with the way it looked.  I then added splatters of just isopropyl alcohol.

I wanted to make sure that my adhesive wouldn't show so I added double sided tape that covered the enter piece.  I adhered it to a piece of plain white cardstock and then cut it out with a stitched rectangle die.  I placed it to leave a strip of white on the right and bottom of the panel.

The sentiment also comes from the Beauty of His Grace set.  I printed it out onto white cardstock and ran it through my Minc machine with a blue foil that matched well with the Glacier alcohol ink.  I took this photo at an angle so you can actually see the foiling.


And a close up so you can so some more of the detail.


This really was an easy card to create.  Plus, I always feel like a little kid in art class when I get to play around with alcohol inks!

Thanks so much for visiting today!
~Kristina


Supplies used: 
Compensated affliate links may be used - I may receive a small commission at no additional charge to you should you make a purchase using my link.

Neenah Solar White
Neenah Solar White
Shop at:
SBC | EH
Tombow Mono Multi Liquid glue
Shop at:
SBC | EH
Heidi Swapp MINC 6 inch Mini Foil Applicator
Shop at:
SBC
8.5 inch Tonic Guillotine Cutter
Shop at:
EH
A2 Stitched Rectangle Stax Set 1 dies -My favorite things
Shop at:
EH
40lb Vellum
40lb Vellum
Shop at:
SBC | EH
iCraft Deco Foil - Turquoise
Shop at:
SBC | EH
Glacier Alcohol Ink
Glacier Alcohol Ink
Shop at:
SBC | EH
Ember Alcohol Ink
Ember Alcohol Ink
Shop at:
SBC | EH
Mojito Alcohol ink
Mojito Alcohol ink
Shop at:
SBC | EH
Teakwood Alcohol ink
Shop at:
EH
Boysenberry Alcohol ink
Shop at:
SBC | EH

Saturday, November 24, 2018

Garden Hydrangea

Good evening my crafting friends!  I finished another class for the Altenew Educator Certification program last week.  With a few extra days off I was able to come up with a card design for my next submission.

The class is called All About Layering 2 and is basically a continuation of the first class.  It provides many helpful tips on how to get perfect alignment for several more Altenew sets.  I have found this is making me itch to add to my collection of Altenew stamps!  Dangerous side effect!  There were several lovely examples of the cards in use and gave me a springing off point for creating my own design.


 I had so much fun making this card!  I know that the Garden Hydrangea set has lots of great layers to use but I wanted to see what I could do without using the other layers.  I decided to use alcohol inks to try and create the look of hydrangea colors.  I love how hydrangeas come in various shades depending on your soil acidity.  I picked out Pink Sherbert, Cool Peri and Cloudy Blue alcohol inks.  I grabbed a piece of Yupo, alcohol blending solution and my colors and went to town!  I forgot to take a picture before I cut things up but here's a partial image to give you an idea.


I set this piece aside to dry and moved on to a piece for the leaves.  For this piece I used Bottle, Meadow and Pistachio.


Once both of the colored pieces were dry I stamped the flower and leaf outlines onto the Yupo with Versamark ink.  Then I sprinkled on silver embossing powder.  I wasn't entirely sure you could heat emboss on Yupo since it is plastic.  The most important tip is to preheat your heat gun!  I very carefully melted the embossing powder moving my heat tool around frequently.  Side note--this will make the Yupo paper curl.  You can fix this with a liberal application of a strong adhesive or you can let the curl work for you as I did with the leaves.  I don't have the matching dies for this set so I cut out all my pieces by hand.

On to the card base.  I cut a white piece of paper down to a vertical A2 size.  The front flap I cut about half way down with a shaped and stitched edge die.  I cut a gray piece of cardstock to A2 size and adhered it behing the cut card front flap.  Why didn't I just make it a gray card and add a piece of white?  Well, I had a different plan that didn't quite work out but I didn't want to waste my paper!

I played around with my flower and leaves until I was content with the layout.  The top green leaf is glued down entirely to the card base.  The green leaf the overlaps it only has glue on about the bottom 3rd.  This lets the leaf still curl up to give it more dimension.  The third leaf is also glued just on a portion of it.  I did not want my hydrangea flower to be all curled up so I liberally applied many pieces of foam tape.  I adhered this on top of the leaves.

From the same stamp set I stamped the hello sentiment with black Versafine ink, sprinkled clear embossing powder over the top and melted the powder.  For my finishing touches I add some clear crystals and clear bubbles that look kind of like dew drops.  I glued them in place with Glossy Accents.


Thank you for stopping by today!
~Kristina