Tuesday, January 18, 2022

Love Bear

Welcome one and all!  I don't know about you but I'm ready for a little bit of change of gears in my crafting.  I love a good winter card but I'm yearning for bright things.  Valentine's Day is here to save the day!  A perfect reason to work with some different colors.  Let's check out my card and then we'll chat!


I started with a white panel cut to 8 1/4" x 3 1/4".  I cut 1/2" wide strips in white, pink, red and dark gray.  I added a generous amount of tape runner adhesive all over the white panel.  Then I started adding the paper strips at a diagonal until the panel was covered.  Next I cut off all of the pieces that went past the edges of the panel.


Next I added white and silver splatters.  Then I set it aside to dry.


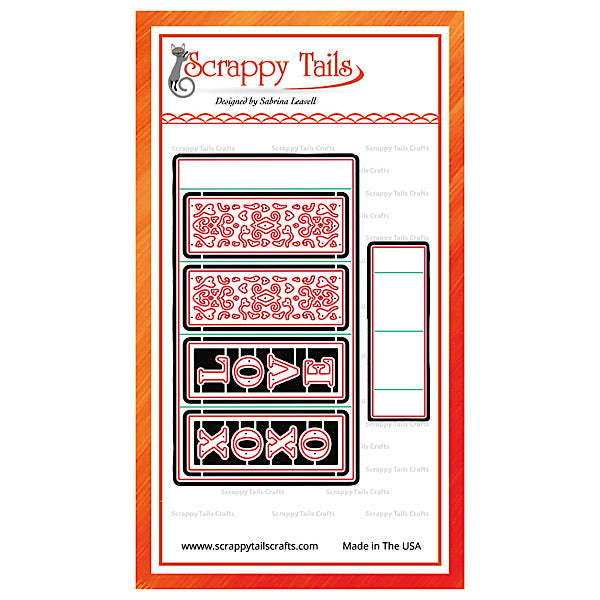
I moved on to the rest of the elements I wanted to use on the card.  I cut out four hearts in the same four colors using the smallest heart die from the Scrappy Tails Craft's Slimline Bird House Pop up die.  I wanted to give them some texture so I ran all of them through a lace embossing folder.  And then I sponged around the edges with ink.  I used the "love" letter dies from the Flower Vase Pop up die set to cut out foil cardstock in the same shades as the hearts. 


The final element for this card is the super adorable bear from the Sweet Bear stamp set.  I actually had him in my stash of previously colored goodies.  He was stamped on Bristol Smooth cardstock and colored with Zig Clean Color Real Brush markers.  Then cut out with the coordinating die.


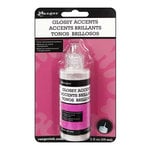
I glued the striped panel onto a medium gray card base.  Then I used foam tape on the back of the bears and the hearts before adding them to the card.  I used liquid glue to add the foil letters on top of the hearts.  For the very final touches, I added Wink of Stella to the ribbon and heart.  Plus glossy accents to the nose.  And that's it!  


As always, thanks SO much for stopping by!
~Kristina
Compensated affliate links may be used - I may receive a small commission at no additional charge to you should you make a purchase using my link.
Teflon bone folder
Teflon bone folder
Shop at:
EH
Tombow Mono Multi Liquid glue
Shop at:
SBC | EH
Wink of Stella - Glitter Clear
Shop at:
SBC | EH
Therm O Web Foam Tape
Shop at:
SBC | EH
Tim Holtz Idea-ology 8x8 Metallic - Confections
Shop at:
SBC
Tim Holtz Idea-ology 8x8 Metallic - Jewels
Shop at:
SBC
Strathmore Bristol Smooth paper
Shop at:
EH
Natural White Neenah cardstock
Shop at:
EH
Glossy Accents
Glossy Accents
Shop at:
SBC | EH
Sweet Bear dies - Scrappy Tails Crafts
Shop at:
SCT
Sweet Bear -Scrappy Tails Crafts
Shop at:
SCT
Flower Vase Pop Up dies - Scrappy Tails Crafts
Shop at:
SCT
Slimline Bird House Pop Up die - Scrappy Tails Crafts
Shop at:
SCT
Metallic acrylic paints - Liquitex
Shop at:
EH
Basic colors acrylic paints - Amsterdam
Shop at:
EH
X-Press It tape runner
Shop at:
EH

Sunday, January 9, 2022

All the Love 💗

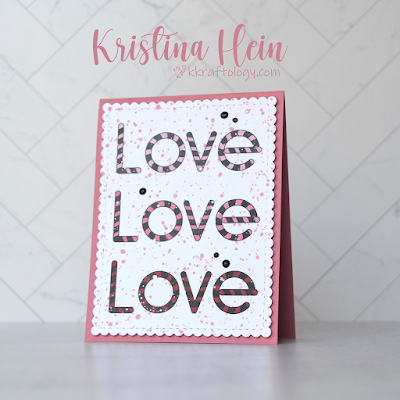
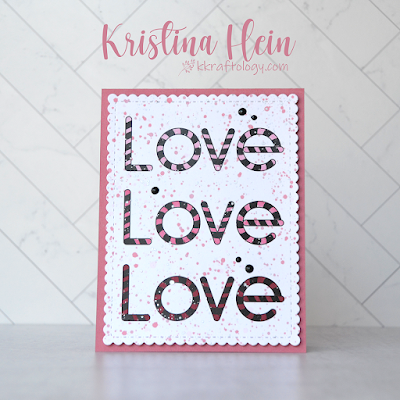
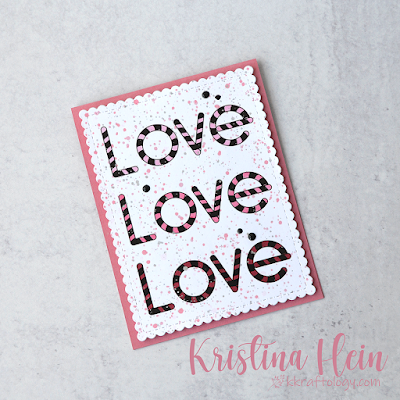
Howdy!  Poppin' in to share a quick Valentine's Day card I created this weekend.  I was looking through my stash of digital stamps and the Penguin Love set from Polka Dot Orchard caught my eye.  In particular, the "LOVE" sentiment.


This was a very easy card to put together!  I printed the sentiment out on to Neenah Solar White cardstock.  I then went ahead and cut the panel with a scalloped rectangle die.  Next I picked my pink Copic markers.  I used R83, R85 and R89.

The panel looked a little too stark so I added splatter with similar colored inks.  I also added metallic silver splatter.  Once the splatters were dry, I added foam tape to the back and glued it onto the pink card base.

To finish it off I added black Nuvo drops.  And that's it!  


If you're interested in another idea using this set, see my blog post HERE from a few years ago!

Have an awesome day!
~Kristina
Compensated affliate links may be used - I may receive a small commission at no additional charge to you should you make a purchase using my link.

Teflon bone folder
Teflon bone folder
Shop at:
EH
Tombow Mono Multi Liquid glue
Shop at:
SBC | EH
Therm O Web Foam Tape
Shop at:
SBC | EH
Natural White Neenah cardstock
Shop at:
EH
Black Nuvo drops
Black Nuvo drops
Shop at:
EH
R83 Copic Marker
R83 Copic Marker
Shop at:
EH
R85 Copic Marker
R85 Copic Marker
Shop at:
EH
R89 Copic Marker
R89 Copic Marker
Shop at:
EH

Sunday, January 2, 2022

Penguin Walk

 Hello friends!  I'm back after a short break to enjoy the holidays.  I have been taking the time to relax and focus on other things.  Now I'm ready to get back to creating!

To start things off, I found a new challenge to participate in!  It's called the Caffeinated Christmas Card Challenge.  You can learn all about it HERE.


I am also entering it in the Build Your Stash Holiday Cardmakers Sketch Challenge 18.  You can find details about it HERE.


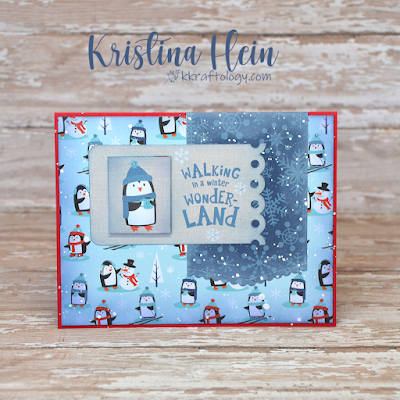
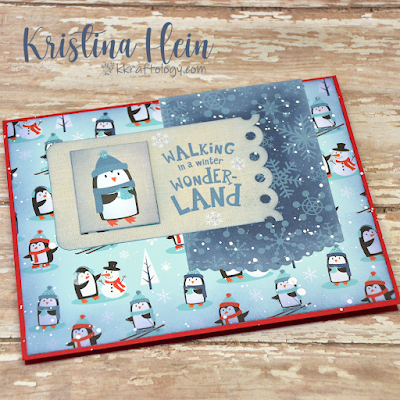
I didn't do ANY stamping on this card at all!  Wow.  I can't remember the last time that happened.  The paper I used is from Echo Park Celebrate Winter paper pad.  The penguin and sentiment tag come from the matching Frames & Tags pack.  

I added blue ink blending around the penguin panel and tag parts.  I did white ink blending on the blue snowflake paper.  Then I added white splatter to everything except the penguin tag parts.  I did add touches of Crystal Stickles to the snowflakes on the tag, the penguins coffee cup and his hat.  I also added foam tape to pop up the penguin portion of the tag.  I put the whole thing onto a red card base and voila!


Have a fantastic day and stay warm!
~Kristina


Saturday, December 18, 2021

A Tall Thanks - Polka Dot Orchard

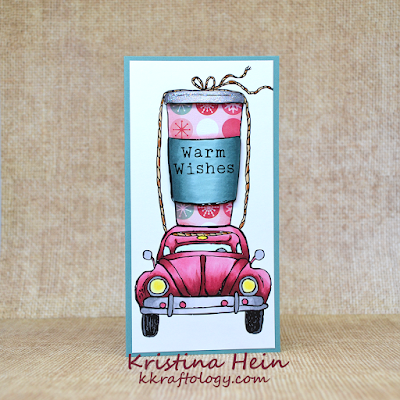
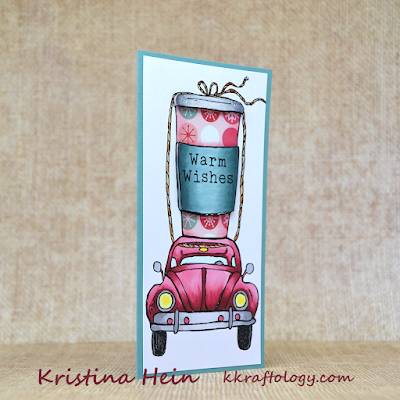
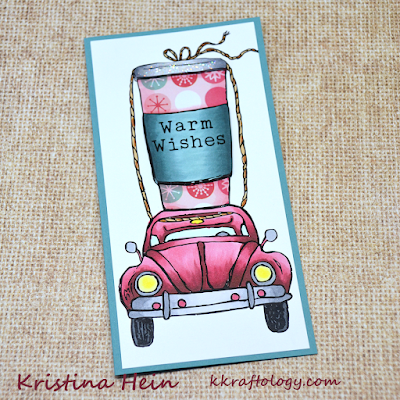
 Happy Saturday!  Hello and welcome!  I should totally be wrapping Christmas presents right now but I'm here sharing my latest card instead...  I recently fell in love with the A Tall Thanks digital stamp set from Polka Dot Orchard.  So, it hopped into my cart and here I am with a card!


I printed the image onto Neenah Solar White cardstock.  I also printed it out onto a fun holiday patterned paper.  I fussy cut the cup from the patterned paper.  Then I cut the sleeve and the lid out of the Neenah cardstock.  I colored up the sleeve with Copics BG78, 75 and 72.  I added some shading to the patterned paper with R85 and 83.  I used N5, 3, 1 and 0 to the lid. 

Next I added foam tape to the back of the sleeve and the lid and applied them to the cup.  I got out my Star Dust Stickles and added it to the lid.  I set the cup aside to dry.

I had a another complete image on cardstock.  I cut it down to 3" x 6" and colored it with more Copic markers.  I did put down a light layer of color on the cup in case anything showed around my fussy cut pieces.  The car is colored with R89, 85 and 83.  The grays I used were N7, 5, 3 and 1.  I used E39 & 36 to add color to the rope.  For the headlights I used Y02 and 00 and BG0000 for the glass areas.  

I glued the patterned paper cup onto the colored panel.  Then the whole thing went onto a 3 1/4" x 6 1/4" card base.  And that's a wrap!  You can check out the entire Polka Dot Store HERE.


Thanks for stopping by and have a fabulous day!
~Kristina
Compensated affliate links may be used - I may receive a small commission at no additional charge to you should you make a purchase using my link.
Teflon bone folder
Teflon bone folder
Shop at:
EH
Tombow Mono Multi Liquid glue
Shop at:
SBC | EH
Therm O Web Foam Tape
Shop at:
SBC | EH
Copic Marker BG75
Copic Marker BG75
Shop at:
EH
Copic Marker BG72
Copic Marker BG72
Shop at:
EH
Natural White Neenah cardstock
Shop at:
EH
Cutter Bee Scissors - EK Success
Shop at:
SBC
BG78 Copic Marker
BG78 Copic Marker
Shop at:
EH
Star Dust Stickles
Star Dust Stickles
Shop at:
EH

Thursday, December 16, 2021

Vintage Snowman

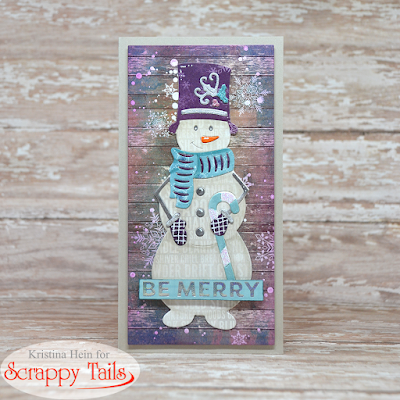
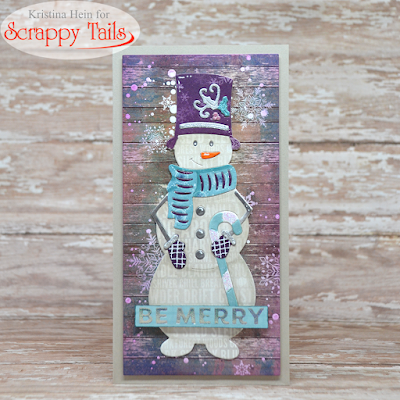
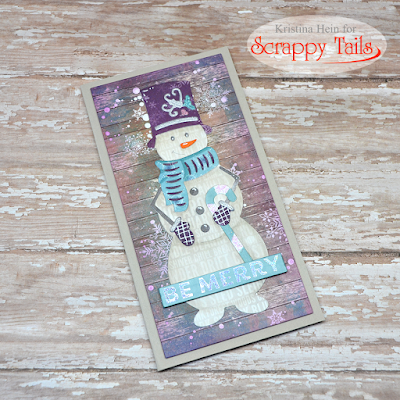
Hello friends!  Welcome to my blog!  I'm back with another project for Scrappy Tails Crafts.  The star of my card today is the Slimline Snowman Spinner Add-On die.  While he looks fabulous as a spinner, I'm using him on a mini slimline card.

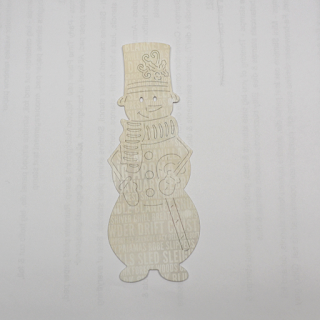
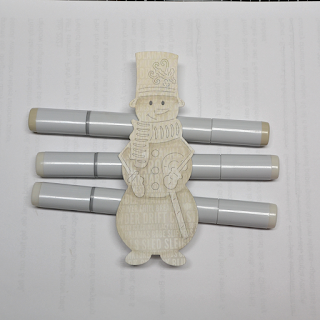
I thought it would be fun to use patterned paper for all the different pieces.  I dug through my collection and pulled out several patterns.  I first cut the whole snowman out of cardstock for a layer of stability.  Then I cut him out using a creamy patterned paper with winter words all over it.


Then I gave it some definition with warm grey Copic markers.


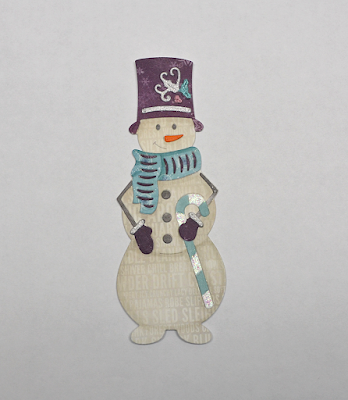
Here he is all put together!  I did use Copic markers to add some detail to the scarf.  I also added some Stickles to the white parts of the candy cane.


Now he just needs a card base!  I used the smallest layer die from the Slimline Shadow Box dies to cut out a woodgrain patterned paper.  It already had snowflakes printed on it but I added some more fun with white splatters.  I inked up the edges lightly with some purple ink and used foam tape to add it onto a mini slimline card base.  Then I glued on the snowman.  It was at this point I added the white gel pen details.

For the sentiment, I used the Hot Foil Bold Christmas Sentiments.  I colored a smooth piece of white cardstock to match the other blues with a Copic marker.  Then I used silver sparkle foil with the Be Merry foil plate.  I cut it down to size, added some foam tape and popped it on the card.  


This card was so fun to piece together.  I can see many more snowmen in my future!  Thanks again for visiting!

~Kristina
Compensated affliate links may be used - I may receive a small commission at no additional charge to you should you make a purchase using my link.
Teflon bone folder
Teflon bone folder
Shop at:
EH
Slimline Shadow Box dies Scrappy Tails Crafts
Shop at:
SCT
Tombow Mono Multi Liquid glue
Shop at:
SBC | EH
Tonic Studios-Retractable Craft Pick
Shop at:
SBC | EH
Therm O Web Foam Tape
Shop at:
SBC | EH
White Gelly Roll pen
Shop at:
SBC
Crystal Stickles
Crystal Stickles
Shop at:
SBC | EH
Copic Marker BG72
Copic Marker BG72
Shop at:
EH
Trinity blending brushes
Shop at:
EH | T
Copic Marker W0
Copic Marker W0
Shop at:
EH
Copic Marker W1
Copic Marker W1
Shop at:
EH
Blender Brush -  Studio Katia
Blender Brush - Studio Katia
Shop at:
EH
Hot Foil Bold Christmas Sentiments - Scrappy Tails
Shop at:
SCT
Snowman Spinner Add-On dies - Scrappy Tails
Shop at:
SCT

Saturday, December 4, 2021

You're the coolest!

Just poppin' in real quick on this sunny Saturday morning to share my latest card.  It features the Cool Penguins set from Rachel Vass Designs.  I think this cutie makes a fantastic winter card!


I happened to have the perfect paper to match the embosing folder that I used.  I carefully used a brush to apply ink to the raised portions of the embossed panel.  The penguin was colored using Copic markes.  Cute and simple!

Have a wonderful day!
~Kristina