Showing posts with label Lawn Fawn. Show all posts

Tuesday, September 3, 2019

Flippin Fall fun

Hey there crafty friends!  After a bit of crafting drought, I'm back!  Today you will find me over on the Dies R Us blog trying out the fabulous Triple Flip die from Karen Burniston.

All you gotta do is click HERE!

Here is the front side of the card.  You'll have to head to the blog to see the back side!


Hope to see you there!

Tuesday, August 6, 2019

Choose to Shine

Hi my crafting friends!  It's Wednesday and that means it is my turn to host the blog post for Dies R Us.  Here's a little peek.


You find all the details for this card and TWO more right HERE.  Hurry on over and check it out!

Toodles!
~Kristina


Tuesday, July 16, 2019

Seas the Day

Holy wow!  Has it been a week already?  I'm back over on the Dies R Us blog with a fun, ocean themed box card.  How how about you head on over HERE and check it out!


See you there!
~Kristina


Tuesday, July 9, 2019

Summer Fun

It's Wednesday which means it's my turn to post for Dies R Us over on their blog.  How about something summery? 


Come check out all of the details HERE!

Hope to see you there!
~Kristina

Tuesday, June 18, 2019

Let's Flamingo

Hey Gang!  It's my turn over on the Dies R Us blog today and I've got something a bit on the tropical side to share.  Come on over and check it out HERE.


See you over there!
~Kristina

Wednesday, June 12, 2019

Just for Dad

Father's Day is fast approaching.  Are you ready?  I'm over on the Dies R Us sharing a Father's Day card.  Come on over and check out the details HERE.


Hope to see you there!
~Kristina

Tuesday, May 21, 2019

Orange blossom

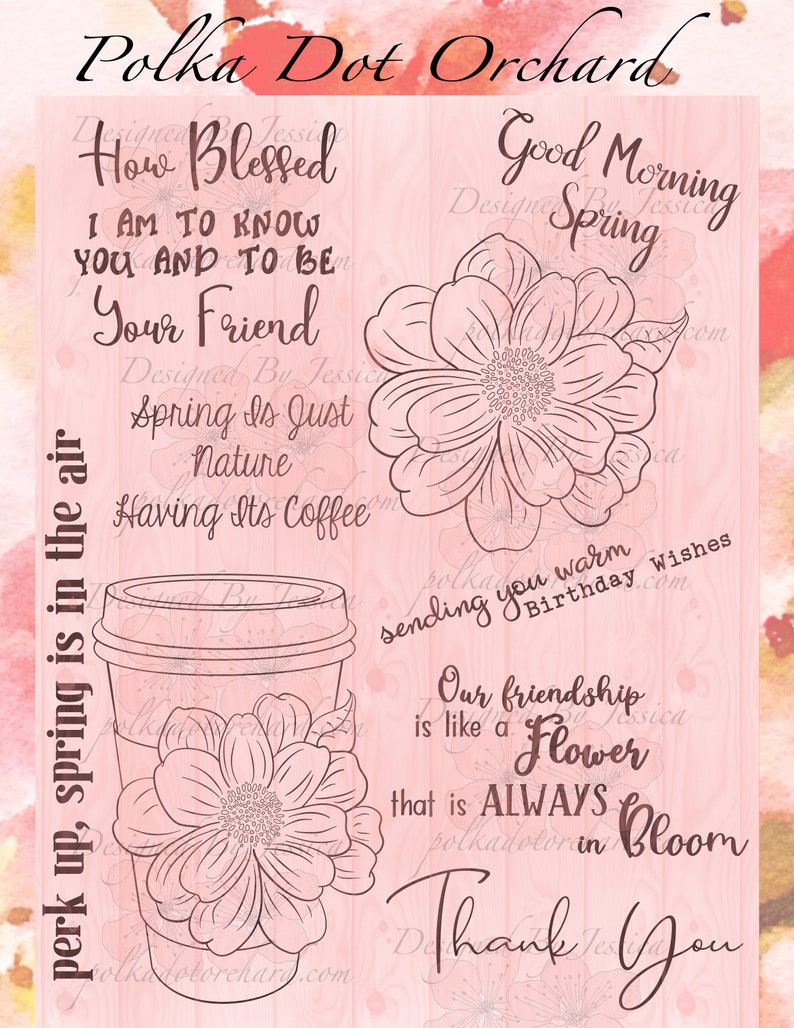
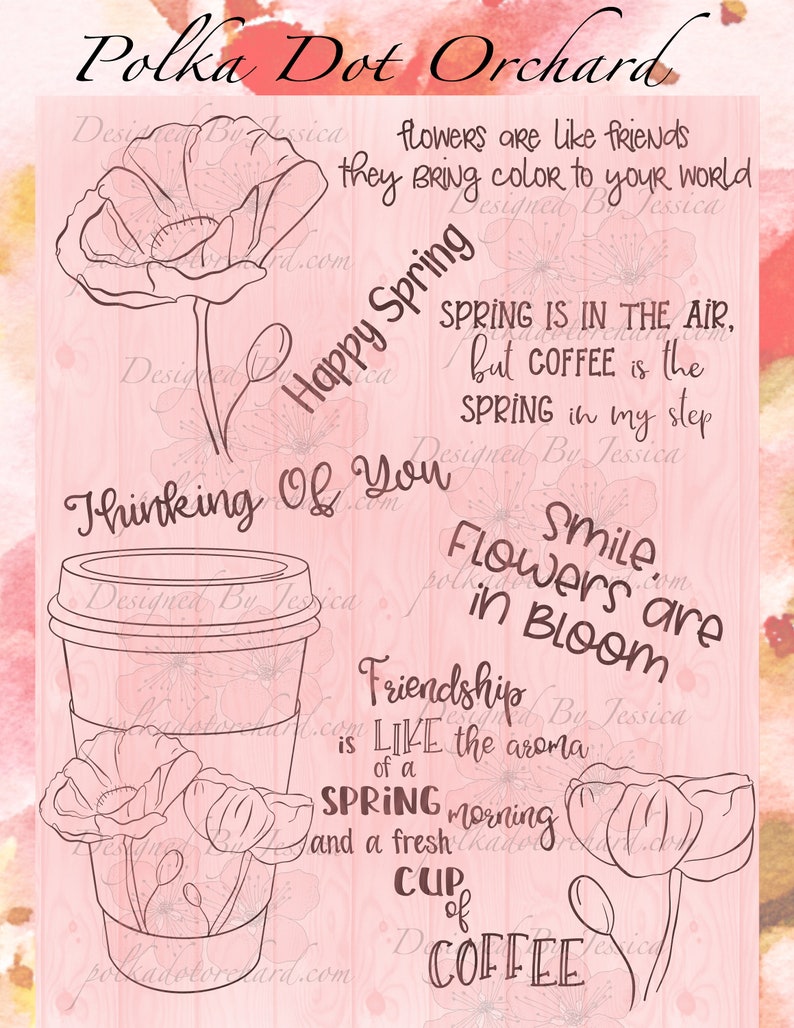
It's Tuesday and I've got a floral card to brighten your day!  I'm using digital stamps from Polka Dot Orchard.  You can find the links below to the sets I used.  They are Good Morning Spring and Flowers in Bloom.


I actually painted this flower awhile ago but finally found time to turn it into a card!  The orange flower is from the Good Morning Spring digital stamp set.  I lightened the lines to gray and printed it out onto watercolor cardstock.  Then I used several shades of orange and red from the Kuretake Gansai watercolor paint set on flower.  I added a bit of greens to the leaves and a few shades of browns for the center.  Once it was dry, I fussy cut it out with scissors.

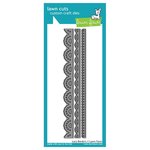
The card itself is pretty simple.  The card base is Neenah Solar White cardstock.  I cut two pieces of patterened paper from Doodlebug's Sweet Summer paper pad.  I sponged around the edges of both pieces with a dark green ink.  I glued them down.  For the little orange strip I used a Stitched Scalloped border die from Lawn Fawn.  I glued it over the seam of the two pieces of paper.  

It's hard to see but I did add some splatters of copper paint and gold paint.  I used foam tape on the back of the orange flower and attached it to the card.  The sentiment comes from the Flowers in Bloom digital stamp set.  I printed it out onto white cardstock and trimmed it down.  I sponged around the edges with orange ink and glued it to the card.

For the final step I added Orange Soda glitter Nuvo drops.  That's all there is to it!


I hope to see you soon!
~Kristina

Supplies Used:

Neenah Solar White
Neenah Solar White
Shop at:
SBC | EH
Tombow Mono Multi Liquid glue
Shop at:
SBC | EH
Zig 2-way glue pen
Zig 2-way glue pen
Shop at:
SBC | EH
Therm O Web Foam Tape
Shop at:
SBC | EH
Kuretake Gansai Tambi Watercolors
Shop at:
SBC | EH
Orange Soda Glitter Nuvo drops
Shop at:
SBC | EH
Sweet Summer Doodlebug paper pad
Shop at:
SBC
Good Morning Spring Polka Dot Orchard digi
Shop at:
PDO
Flowers in Bloom Polka Dot Orchard digi
Shop at:
PDO

Saturday, May 4, 2019

Perk Up

It's one of my favorite times of the year...The Coffee Lovers Blog hop!!!!  And if that wasn't special enough, I have joined the design team for Polka Dot Orchard digital stamps!!  Oh so much to be excited about!  Without further ado...


The blog hop goes from May 3rd through May 10th and there are lots of prizes to be won!  Perfect excuse to play along.

You can find the linkup post right HERE. Don't forget to use #springsummer2019clh


Let me tell you a little bit about the card.  The set I used from Polka Dot Orchard is called Good Morning Spring.  I first printed it out onto watercolor paper using my laser printer.  I did reduce the opacity of the lines so that they wouldn't be quite so bold.  I then painted it using Daniel Smith Watercolor paints from the sampler cards.  I'm sorry but I forgot to write down which colors I used!  

After it was completely dry, I fussy cut the entire image out.  I went over the entire image with clear glitter Wink of Stella marker.  I set it aside to dry.  I went through my paper stash (hoard) to find a soft colored paper that would coordinate with the colors I used.  I pulled out Doodlebug's  Simply Spring paper pad.  Did I mention I'm a total Doodlebug addict?  I've been trying hard to actually use the pretty paper I buy.  It's just so dang hard!

Anywho, I selected a pale yellow pattern paper.  I cut it down to 4 1/4" x 5 1/2".  Then I used the largest die from Lawn Fawn's Lacy borders dies to cut the long sides of the yellow paper.  I then glued it using Tombow Mono Multi liquid glue to a top fold white card base.  The paper I used for the base is Neenah 110lb Solar White.  I used the same liquid glue to adhere the cup over the yellow paper.

Now I just needed a sentiment.  I picked one that comes with the Good Morning Spring digi set and reads "Perk up, spring is in the air".  I also printed it out onto Neenah Solar White cardstock and cut it down using a trimmer.  I then just used a pair of scissors to cut the banner ends.  I added foam tape to the back of the sentiment and stuck it in place.

While I loved the way the card looked, I felt it needed just a little bit more.  I carefully added a bit of Icicle Stickles to the portion of the flower center you can see around the sentiment strip.  I found a pin helped to spread it carefully in the right places.  I also added Nuvo Drops in Dandelion Yellow, Woodland Green and Plum Pudding.  The Woodland Green drops helped to tie in the green from the one leaf in the flower.  All done!


I really appreciate you stopping by!  Don't forget to create a little something for the Coffee Lovers blog hop!

~Kristina

Supplies used: contains some affiliate links


Neenah Solar White
Neenah Solar White
Shop at:
SBC | EH
Tombow Mono Multi Liquid glue
Shop at:
SBC | EH
Wink of Stella - Glitter Clear
Shop at:
SBC | EH
Tonic Studios-Retractable Craft Pick
Shop at:
SBC | EH
Therm O Web Foam Tape
Shop at:
SBC | EH
Lawn Fawn Lacy Borders dies
Shop at:
SBC | EH
Stickles - Icicle
Stickles - Icicle
Shop at:
EH
Doodlebug Simply Spring
Shop at:
SBC | EH
Nuvo Drops Dandelion Yellow
Shop at:
SBC | EH
Nuvo Drops Woodland Green
Shop at:
SBC | EH
Nuvo Drops Plum Pudding
Shop at:
SBC | EH
Canson Watercolor paper
Shop at:
EH
Daniel Smith watercolor sampler
Shop at:
EH

Wednesday, January 30, 2019

Be Mine banner

Hey there gang!  I'm back with a Valentine's Day home decor project today over on the Dies R Us blog page.  Come on over and check out all the details HERE!


Hope to see you over there!
~Kristina

Wednesday, January 23, 2019

Rawr!

I'm sharing a super fun, Valentine's Day themed project over on the Dies R Us blog today.  It's a side waterfall card!!  Come check out all of details HERE


See you there!
~Kristina

Tuesday, January 8, 2019

Coffee Scene card

Hi there!  My teenagers have finally gone back to school.  I'm so ready for everyone to be back on a normal schedule.  Whew!  Last week  I worked my way through the next Altenew Educator Certification Program class.  Which means I have another submission to share with you!  The name of the class was called Seasonal Scene Building.  Now, this isn't really limited to "seasons" but more about scene building as a whole.  I have to say that this is an area where I struggle.  This class helped me out with tons of different ideas!  So, without further ado, here is my card!


The main idea that struck a chord with me was to create a smaller scale scene and frame it in some way.  As you can see on my card, I used a die cut rectangle to create my frame.  Let's talk about the details.

I started by cutting a piece of watercolor paper down to 3 1/8" x 4 3/8" inches.  Next, I started playing around with the stamps to create the scene I wanted.  Once I had everything in place I took a picture for reference.  My memory isn't always the best and I wanted to make sure I remembered!


Yep, some of the stamps are overlapping the others.  No problem though as I'll be doing some masking.  I moved the whole piece to my Misti and closed the lid.  This picked up the spoon and the coffee pot.  I removed the rest of the stamps.  As I want the spoon to be in the front of my scene it has to be stamped first.


I stamped the spoon again onto some masking paper.  I proceeded to cut out the teeny, tiny spoon mask.  I then put it down over the stamped spoon.  I brought in my next stamp which is the taller cup that goes right behind the spoon.  Lined it up using my Misti, stamped it on the watercolor paper and then onto masking paper.  I stamped and cut out the cup mask.  This is the last mask I need for my scene.  I then placed the other two stamps in my Misti and stamped them.  I did want to mention I had to stamp the images a couple times to get a nice, dark image.  The watercolor paper texture makes it a bit harder to get a good impression the first time you stamp.

Here is the scene all stamped out and the masks removed.


Next I brought out my Derwent Inktense pencils.  I always forget about these little lovelies but I found them again when I was doing a little holiday cleaning!  I will generally color up the entire scene before I bring in a brush and water to smooth and blend them out.  Here are the colors I used.

Blue cup: 1200 Sea Blue & 0220 Sicilian Yellow
Purple cup: 0760 Deep Violet and 0250 Cadium Orange
Pink cup: 0720 Thistle
Spoon, coffee pot & shadows: 2120 Neutral Gray
Coffee in the pot: 1930 Dark Chocolate
Glass in the pot: 0900 Iris Blue
Wall: 0220 Sicilian Yellow and 0250 Cadium Orange

I laid the pencil down in a light coat as I didn't want the colors to be too dark.  For the wall, I drew my horizon line and then colored it all in with the Sicilian Yellow.  Then I put down the vertical lines with the Cadium Orange.   Here is the scene all colored with the Inktense pencils.


Next I worked my way through the scene with a small brush and a small amount of water.  I wanted to stay in control of where the color went so I used just the smallest bits of water.  I kept a paper towel nearby to dab off any excess water or color.  Once the cups and pot were done, I moved on to the wall.  I applied water to the stripes first.  The neat thing about Inktense pencils is that yes, they are watercolor but after they dry they are generally permanent.  So you can go back over them and the colors won't reactivate.  I wanted the stripes to dry before I went over the entire wall so that my stripes would stay visible.  While they dried, I went ahead and added water to the shadows.  Then back to the wall.  I added water over the whole wall and dabbed it with a paper towel to give it a little bit of added texture.  Here is the scene after I applied water with a brush.


I set the scene aside to dry.  Now to the rest of the card.  I took two stitched rectangle dies and taped them together so that they would cut out a frame for my scene.  I chose a dark gray similar to the Neutral Gray Inktense pencil.  I cut it out 3 times and glued them together.  Next I cut a piece of the watercolor paper to  4 1/4" by 5 1/2'' inches.  I knew that my scene was actually a little bit smaller than my frame so the background paper was going to show through.  It needed to be the same white as my scene.  I glued it to a white card base.  Then I centered the frame and glued it down as well.  Then my scene piece.

Now I just needed a sentiment!  I found a piece of purple cardstock similar to the purple cup on my card.  I went over it with anti-static powder and stamped the coffee & friends sentiment with Versamark ink.  I sprinkled Vintage Pearl embossing over the sentiment and melted it with my heat tool.  Then I went back and brushed off the remaining anti-static powder with a paper towel.  I cut it down to a rectangle and glued it only to the frame piece.  It's taller than the scene since it is 3 layers of cardstock.  There you have it!


I love how these classes are challenging me to go outside my comfort zone!  Hope to see you soon!

~Kristina

Altenew Supplies used:


Other Supplies used:

Vintage Pearl embossing powder


Tuesday, December 4, 2018

Coffee for You - Dies R Us

I am up on the Dies R Us blog today to share an autumn, coffee themed card.  You can find all of the details on the Dies R Us blog right HERE.

I am also linking this card up to the current Coffee Lovers fall/winter blog hop!


Be sure to link up your coffee/cocoa/tea themed creations before the blog hop ends.  That link up can be found HERE.

#fallwinter2018clh

Have an awesome day!
~Kristina


Tuesday, November 27, 2018

No prob-llama!

Hey there gang!  I wanted to make sure you guys don't miss my latest post over on the Dies R Us blog.  I promise there are no drama llamas involved in this project!  😃

You can find my post right here --->Dies R Us blog


Catch ya later!
~Kristina

Wednesday, October 31, 2018

Not too spooky

I'm back with another Dies R Us design team post to share with you.  Here's a look at the card.


I've got all of the details and supply list over on the Dies R Us Blog.  Check it out HERE.

Hope to see you over there!
~Kristina

Check out all of the Dies R Us links below.