Showing posts with label Doodlebug Design. Show all posts

Sunday, January 31, 2021

Birthday ice skates

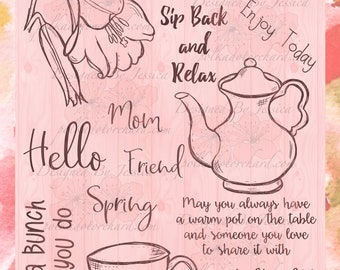
 Hi there!  I had need of a birthday card for a young lady.  I heard she liked pink and ice skates so I came up with a plan.  I knew that Polka Dot Orchard had the perfect digital stamp to use, Merry Christmouse.  I can hear you right, but Kristina, that's a Christmas set!!  Well, yes...and no!  Let's take a look at the card shall we?


This card came together fairly quickly.  I browsed Pinterest to find a simple card sketch as a starting point.  Then I  gathered my supplies.  Some happy Doodlebug paper, Copic markers in colors to match, some oval dies, Stickles, holographic cardstock and my digital stamps!

I printed the skates and the sentiment out onto Neennah Solar White 80lb cardstock.  I colored the skates with RV52 and 55, T9, 7, 5, 3, 1, 0 and the colorless blender.  I cut the colored image out with an oval die and the holographic cardstock in the next largest oval.  I cut the patterned papers at an angle and adhered them to a pink card base.  I glued on the ovals.  I went over the blades of the skates with a light layer of Star Dust Stickles.  The sentiment comes from the Whoops A Daisy set.  I colored it with the RV52 marker.  I popped on a bit of foam tape and added it to the card.  Added a few drops of Magenta Stickles and called it done!  I did find out the Magenta Stickles have been discontinued but I think Rhubarb or Cranb might work too.


Isn't it such a fun birthday card??  Both stamp sets are on sale for 50% off and can be found in the Polka Dot Orchard store HERE

See ya later!
~Kristina

Supplies used:
Compensated affliate links may be used - I may receive a small commission at no additional charge to you should you make a purchase using my link.

Copic Marker RV55
Copic Marker RV55
Shop at:
EH
Neenah Solar White
Neenah Solar White
Shop at:
SBC | EH
Tombow Mono Multi Liquid glue
Shop at:
SBC | EH
Copic Marker RV52
Copic Marker RV52
Shop at:
EH
Therm O Web Foam Tape
Shop at:
SBC | EH
Copic Marker Colorless Blender
Shop at:
EH
Copic Marker T9
Copic Marker T9
Shop at:
EH
Copic Marker T7
Copic Marker T7
Shop at:
EH
Rhubarb Stickles
Rhubarb Stickles
Shop at:
SBC
Copic Marker T5
Copic Marker T5
Shop at:
EH
Copic Marker T0
Copic Marker T0
Shop at:
EH
Copic Marker T1
Copic Marker T1
Shop at:
EH
Copic Marker T3
Copic Marker T3
Shop at:
EH

Friday, October 30, 2020

One last Halloween card!

 Yep.  I did it.  I managed to get one more Halloween card done.  Woot!  My card today features a brand new digital stamp from 2 Cute Ink called Witchy Fishy.  It is brand new in the Etsy Store today.  Head HERE to check it out.


Isn't he just the cutest?  I colored the entire scene using Copic markers.  The papers are from an older Doodlebug paper pad called Boos & Brews.  I also added some matte Doodlebug sprinkles.  I used glossy accents on the glasses and the bubbles.  And there is a wash of metallic gold paint over the moon.  I hope you love this little fishy as much as I do!


Thanks for visiting!
~Kristina


Friday, July 26, 2019

Sip Happens

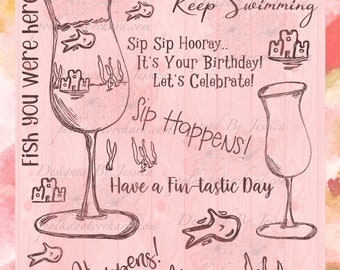
Hello my friends!  Popping in for a quick post to share my latest floral card.  It features two digital stamps from Polka Dot Orchard.  They are Sip Happens and Its Your Day.  I combined the flower image with the wine glass.  The stems aren't long enough to go inside the wine glass so I just added them with a fine line marker and a pencil.


I printed it out onto Bristol Smooth cardstock.  I then used Zig Clean Color real brush markers and a water brush to color the images.  I cut it out using my Brother Scan & Cut before adding it to the card.  The papers are from the BoBunny Bee-utiful You paper pad.  I added foam tape to the back of the flower before putting it on the die cut oval.

For a few final touches I added Wink of Stella Glitter Gloss and Midas Touch.  I also added some enamel dots in coordinating colors.  That's it!  

I am adding this to the linky Petals for the Pittman's party over at Polka Dot Orchard.  You can find the link up HERE.  There are tons of prizes to be won and it's all for a great fundraiser!


I tried to capture the sparkle in the sunshine!


Have a fabulous crafty day!
~Kristina

Supplies used:

Bee-utiful You - BoBunny
Shop at:
EH
Primary Sprinkles - Doodlebug
Shop at:
EH
Midas Touch - Tonic Nuvo Shimmer
Shop at:
EH
Shadow Mauve 303 - Zig Clean Color
Shop at:
EH
Ochre 63 - Zig Clean Color
Shop at:
EH
Green 40 - Zig Clean Color
Shop at:
EH
Lemon Yellow 51 - Zig Clean Color
Shop at:
EH
Its Your Day - Polka Dot Orchard digi stamp
Shop at:
PDO
Sip Happens - Polka Dot Orchard digi stamp
Shop at:
PDO
Tombow Mono Multi Liquid glue
Shop at:
SBC | EH
Wink of Stella - Glitter Clear
Shop at:
SBC | EH
Strathmore Bristol Smooth paper
Shop at:
EH
May Green 47 Zig Clean Color Real Brush Marker
Shop at:
EH

Tuesday, May 21, 2019

Orange blossom

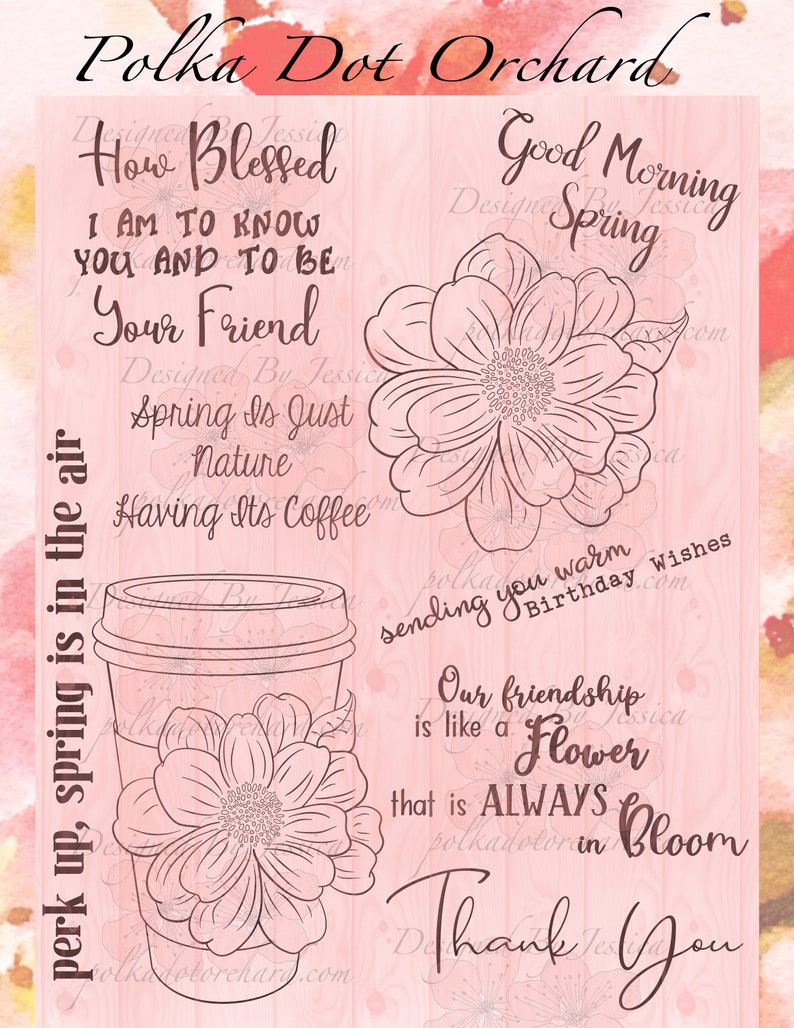
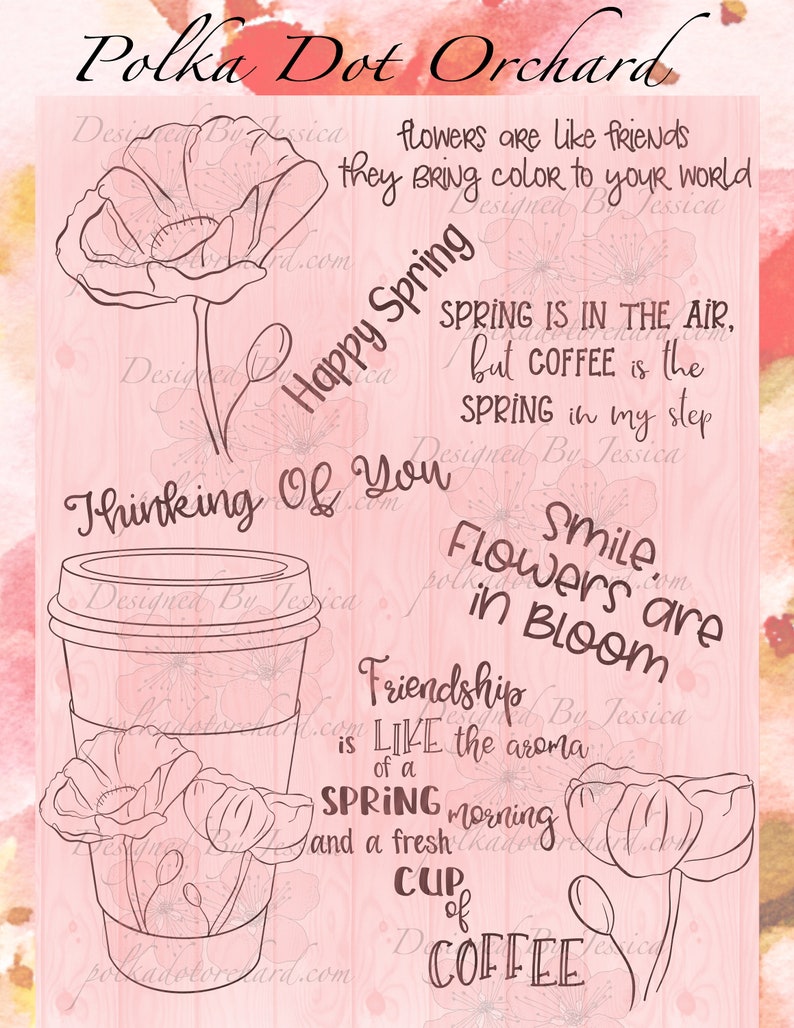
It's Tuesday and I've got a floral card to brighten your day!  I'm using digital stamps from Polka Dot Orchard.  You can find the links below to the sets I used.  They are Good Morning Spring and Flowers in Bloom.


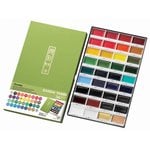
I actually painted this flower awhile ago but finally found time to turn it into a card!  The orange flower is from the Good Morning Spring digital stamp set.  I lightened the lines to gray and printed it out onto watercolor cardstock.  Then I used several shades of orange and red from the Kuretake Gansai watercolor paint set on flower.  I added a bit of greens to the leaves and a few shades of browns for the center.  Once it was dry, I fussy cut it out with scissors.

The card itself is pretty simple.  The card base is Neenah Solar White cardstock.  I cut two pieces of patterened paper from Doodlebug's Sweet Summer paper pad.  I sponged around the edges of both pieces with a dark green ink.  I glued them down.  For the little orange strip I used a Stitched Scalloped border die from Lawn Fawn.  I glued it over the seam of the two pieces of paper.  

It's hard to see but I did add some splatters of copper paint and gold paint.  I used foam tape on the back of the orange flower and attached it to the card.  The sentiment comes from the Flowers in Bloom digital stamp set.  I printed it out onto white cardstock and trimmed it down.  I sponged around the edges with orange ink and glued it to the card.

For the final step I added Orange Soda glitter Nuvo drops.  That's all there is to it!


I hope to see you soon!
~Kristina

Supplies Used:

Neenah Solar White
Neenah Solar White
Shop at:
SBC | EH
Tombow Mono Multi Liquid glue
Shop at:
SBC | EH
Zig 2-way glue pen
Zig 2-way glue pen
Shop at:
SBC | EH
Therm O Web Foam Tape
Shop at:
SBC | EH
Kuretake Gansai Tambi Watercolors
Shop at:
SBC | EH
Orange Soda Glitter Nuvo drops
Shop at:
SBC | EH
Sweet Summer Doodlebug paper pad
Shop at:
SBC
Good Morning Spring Polka Dot Orchard digi
Shop at:
PDO
Flowers in Bloom Polka Dot Orchard digi
Shop at:
PDO

Wednesday, December 26, 2018

Winter bear

Hi guys!  I've got my next design team post up over on the Dies R Us blog.  Come check out all of the details HERE!


See you soon!
~Kristina

Monday, December 3, 2018

Holiday Anya

Look at that!  I'm back again almost lickety-split with another coffee themed card to link up for the Coffee Lovers blog hop!  Did I mention how much fun I have making these coffee themed cards??


This card was also a labor of love.  During the recent 30 day coloring challenge hosted by Kathy Racoosin, I colored up this sweet Holiday Anya 6 from The Greeting Farm.  I did two versions.  One stamped with black and the other with Inkon3 fadeout ink.  I really wanted to do some no line coloring.  I'm not going lie, it's hard for me!  I am however pleased as punch with how she turned out!

Here are the Copic colors I used:

Hair-B02,23,24 & 28
Collar/Shirt tails-T1, 3, 5
Sweater-V04,06,09
Skirt-V01, 04
Mug-BG32, 34, 23
Marshmallow-E42 & colorless blender
Skin-E00, 11, 13, 21
Cheeks-R20
Dots on mug-white gel pen

After I was done coloring, I added Nuvo aqua shimmer in glitter gloss (love this stuff!).  As soon as it was dry I went ahead and cut her out with scissors.  I decided to leave a small white border all the way around.  For the little section between her feet I used a craft knife.  

I pulled out three patterned papers from the Doodlebug Frosty Friends paper pad.  I have been trying to actually use my patterned papers instead of hoarding them.  It's SO hard!!  I just want to admire the paper all day long.  LOL!  I cut the dotted aqua/green paper with an oval die from MFT Stamps.  The striped paper I cut out using a rectangle die from Mama Elephant.  The white paper is cut out with another rectangle die from the same Mama Elephant die set.

I dug through my colored cardstock collection and found a pretty purple that matched so I cut an A2 sized cardbase.  I glued each piece in place and added Holiday Anya on top.  I didn't use any foam tape for any of the layers.  Then I stamped the Mugs & Kisses sentiment that comes with Holiday Anya in a gray ink onto white paper.  I didn't have quite the right shade of blue so I took my B28 copic to a piece of white paper to make my own!  I layered it with the sentiment and this was popped up with foam tape.

I though some sequins would add some extra sparkle but I ran across these assorted snowflakes that I got as a freebie gift from Lawn Fawn.  I glued them around wherever I thought they looked right.  There you have it.  I am quite enamored with this card.  Hope you like it too!


Don't forget to make some fall/winter coffee/tea/cocoa themed cards and link it up right HERE! Be sure to use #fallwinter2018clh!


I'll be seeing you soon!
~Kristina

Wednesday, November 14, 2018

Marshmallow Snowman

Howdy and hello!  I don't know about your neck of the woods but it has taken an abrupt turn to the cold here.  Yikes!  I'm really not ready for this at all.  I am ready to create with adorable winter type images though.  One of the newest digital stamps "Marshmallow Snowman" from 2 Cute Ink fits the bill.


Can you handle the cuteness?!!

I reduced the transparency of the digital stamp so it would be gray instead of black.  I then printed it out onto watercolor using my laser printer.  Then I picked out several distress inks to use as my watercolors.  I ended up with Chipped Sapphire, Blueprint Sketch, Peacock Feathers and Tumbled Glass.  I put clean water down first all around the snowman.  I then used a palette to squish the pads against.  I added water to give them a liquid consistency.  I just started randomly adding the colors to the water already on the background.  I let it sit overnight to dry.

The next day I picked up where I left off.  I mixed a little bit of Pumice stone with water and silver Finetec watercolor.  Again I put down clean water first in the snow area.  I used a brush to dab on the Pumice Stone mixture.  I heat set it and then went back to add more layers until I was happy with the results.  I heat set it again. 

Now I moved onto the snowman himself.  I did all of the small areas first.  Spun Sugar for his cheeks, a mix of Carved Pumpkin and Ripe Persimmon for his nose, Black soot for his hat and buttons and Wilted Violet for the scarf.  I heat set everything.  For the white areas of the snowman, I just kept watering down the black soot until it was pale enough.  I concentrated the darker color near the edge and spread it out with water. After heat setting, I went back and added a few more layers to the scarf, the hat and the body until I got the dimension I was looking for.  Heat set yet again.  I wanted to have even more detail so I went over his stick arms with Black Soot.  I used a black glaze pen on his buttons, his mouth and his eyes.  Once the eyes were dry, I added little dots of white.  I then used the same white gel pen to add highlights to the nose, hat and the snowman body.  I also added the striped detail to the scarf.  I mixed white paint with more of the silver finetec and lightly splattered the entire card front.

Once the card front was dry, I cut it down to a 4 1/4" square.  I glued it onto a 4 1/2" purple layer.  I applied a generous amount of foam tape to the back of the purple paper.  My white card base is a 5 1/8" square.  To the base I glued the striped piece of Doodlebug patterned paper.   The striped paper is cut into 5" square.  I then put all of the layers together.  For the finishing touches I added a couple Doodlebug Sprinkles and a few drops of Crystal Stickles.

Now, hurry over right HERE and pick up this adorable digital stamp for yourself!


Have a fabulous day!
~Kristina